How to Uninstall Symantec Endpoint Protection on Windows 10
Completely uninstall Symantec Endpoint Protection from Windows 10 and remove leftover files, with fixes for access errors and a missing Programs list entry.
In this article
- Common Problems When Removing Symantec Endpoint Protection
- How to Uninstall Symantec Endpoint Protection Completely
- 1. Uninstall It from Programs and Features
- 2. Run the Uninstaller from the Installation Folder
- 3. Roll Back with System Restore
- 4. Make Sure It Is Really Symantec
- 5. Repair or Reinstall, Then Uninstall
- 6. Use the Uninstall Command Stored in the Registry
- 7. Use Symantec's Removal Tool or a Third-Party Uninstaller
Symantec Endpoint Protection (SEP) is built to be hard to remove. That is useful when malware tries to switch it off, but frustrating when you want to replace it, fix a broken installation or hand the PC to someone else. This guide walks through every reliable way to uninstall it from Windows 10, starting with the simplest.
Note for work computers: if your PC is managed by your company, SEP may be password-protected or reinstalled automatically by the management server. Ask your IT team for the uninstall password before you start.
Common Problems When Removing Symantec Endpoint Protection
You will probably need this guide if you have run into one of these:
- Symantec Endpoint Protection does not appear in Programs and Features.
- Windows says you do not have sufficient access to uninstall it.
- A file required to complete the uninstall could not be run.
- The uninstaller finishes with an error saying not all files were removed.
- Another process is using a SEP file and blocks the uninstall.
- Symantec folders are still on the drive after the uninstall.
A half-finished uninstall can leave drivers and services behind, which may conflict with the next security product you install. That is why it is worth removing SEP completely.
How to Uninstall Symantec Endpoint Protection Completely
1. Uninstall It from Programs and Features
Always try the standard method first. It runs Symantec's own uninstaller, which is the cleanest option when it works.
- Type Control Panel in the Windows search box and open it.
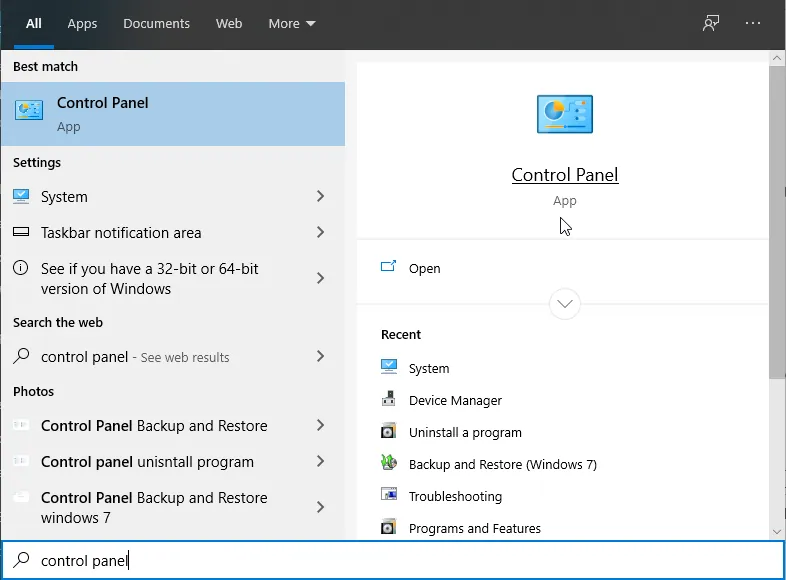
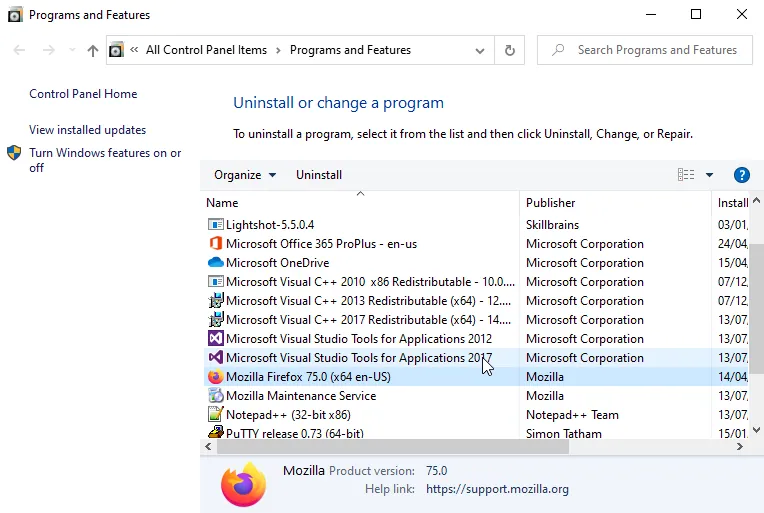
- Click Programs and Features (or Uninstall a program).
- Find Symantec Endpoint Protection in the list, select it and click Uninstall. Enter the uninstall password if you are asked for one.
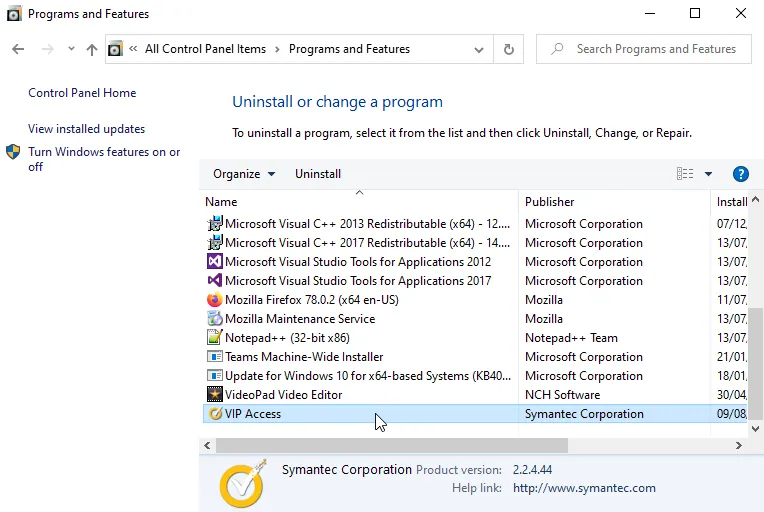
- Restart your PC when the uninstaller finishes.
2. Run the Uninstaller from the Installation Folder
If SEP is missing from the list, you can often start its uninstaller directly. Open the Symantec installation folder (usually under C:\Program Files\Symantec or C:\Program Files (x86)\Symantec) and look for a file named uninstall.exe or unins000.exe.
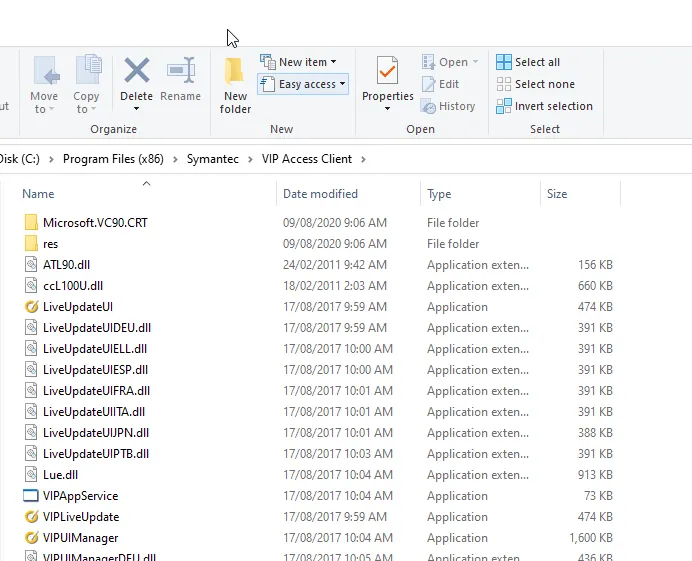
Double-click it and follow the wizard to the end, then restart.
3. Roll Back with System Restore
If you created a restore point before SEP was installed, System Restore can take Windows back to that moment and remove the program along with everything else installed afterwards. Back up your personal files first, just in case.
- Save your work and close all open programs.
- Open Control Panel, go to System and Security > System and click System protection.
- Click System Restore, then Next.
- Pick a restore point dated before SEP was installed and click Next. Any program or driver installed after that date may need to be reinstalled.
- Click Finish, then Yes to confirm. Windows will restart.
4. Make Sure It Is Really Symantec
Some malware disguises itself as well-known security software so that you will not remove it. If the "Symantec" program on your PC refuses every removal method, was never installed by you or your IT department, or behaves strangely, scan the computer with Microsoft Defender or another reputable on-demand scanner such as Malwarebytes before you go any further.
5. Repair or Reinstall, Then Uninstall
When the files the uninstaller needs are damaged or missing, it simply cannot run. Reinstalling SEP over the top of the broken copy restores those files. Run the original installer, choose Repair if it offers that option, and then uninstall the program normally using method 1.
6. Use the Uninstall Command Stored in the Registry
Windows keeps the exact uninstall command for every installed program in the registry. You can copy it and run it yourself. Edit the registry carefully: a wrong change can stop Windows from starting.
- Press Windows + R, type regedit and click OK.
- Go to HKEY_LOCAL_MACHINE\SOFTWARE\Microsoft\Windows\CurrentVersion\Uninstall and click through the subkeys until you find the one whose DisplayName is Symantec Endpoint Protection.
- Double-click UninstallString and copy the text in Value data.
- Press Windows + R again, paste the command and click OK.
- Follow the wizard to finish the uninstall.
7. Use Symantec's Removal Tool or a Third-Party Uninstaller
If nothing above works, Broadcom (which now owns Symantec) publishes a dedicated cleanup tool for Endpoint Protection, known as CleanWipe, through its support site. It removes SEP files, services, drivers and registry entries in one pass. A reputable third-party uninstaller such as Revo Uninstaller can also help by scanning for leftovers after the main uninstall. Whichever you use, restart the PC afterwards and make sure Microsoft Defender has switched back on so the computer is not left unprotected.