Windows 10 No Internet Access: How to Fix It
Connected to Wi-Fi but no internet on Windows 10? Run the network troubleshooter, reset TCP/IP, flush DNS, update network drivers and try these other fixes.
In this article
- Update Your Network Adapter Driver
- Run the Network Troubleshooter
- Reset Your Wi-Fi Connection
- Disable IPv6 on Your Adapter
- Reinstall the Network Adapter
- Make Sure the Required Network Items Are Enabled
- Reset Your Network Configuration
- Check Your Antivirus
- Uninstall Programs That Manage Your Network
- Turn on Random Hardware Addresses
- Restart Your Modem and Router
- Restart Your PC and Reconnect
- Delete Temporary Files
Your Wi-Fi icon shows a connection, yet nothing loads and Windows 10 says "No Internet, secured" or "No internet access". The problem often appears after a Windows update, and since almost everything on a PC depends on the internet, it is hard to ignore.
Microsoft has acknowledged the issue. Its official advice is to start with a simple restart: "We recommend users restart their PCs, and if needed, browse through Fix network connection issues in Windows." Choose Start > Power > Restart, not Shut down, because Fast Startup means a shutdown does not fully reset Windows.
The usual cause is a problem with DHCP (Dynamic Host Configuration Protocol), the service that gives your PC its network address. If a restart did not help, work through the fixes below in order.
Update Your Network Adapter Driver
An outdated or faulty network driver is one of the most common causes of the "No Internet, secured" message. To update it manually:
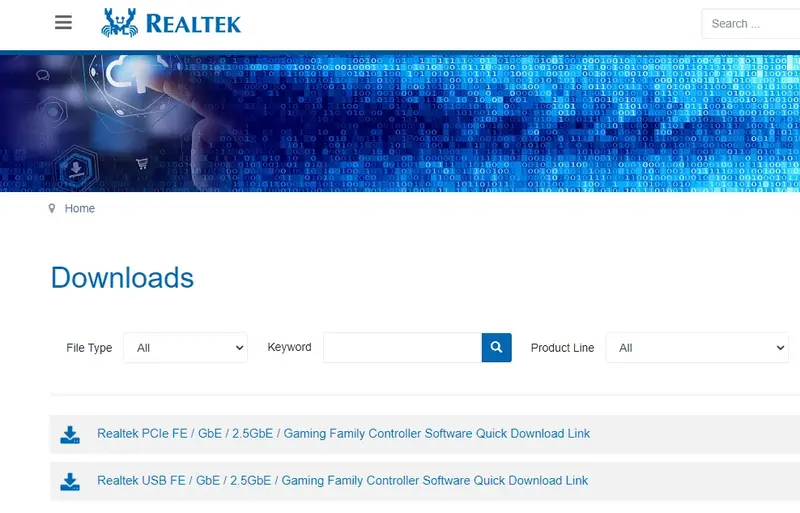
- On a device that does have internet access, go to the website of your network adapter's manufacturer (or your laptop or motherboard maker) and download the latest driver for your model and Windows 10.
- Copy it to the affected PC with a USB stick and install it.
- Restart and test the connection.
Automatic driver updater tools can do this in one click, but many are paid or bundle unwanted software. If you use one, choose a reputable tool and read every install screen carefully.
Run the Network Troubleshooter
Windows 10 includes troubleshooters that find and fix common problems automatically, and the network troubleshooter catches more than you might expect.
- Press Windows + I to open Settings and go to Update & Security.
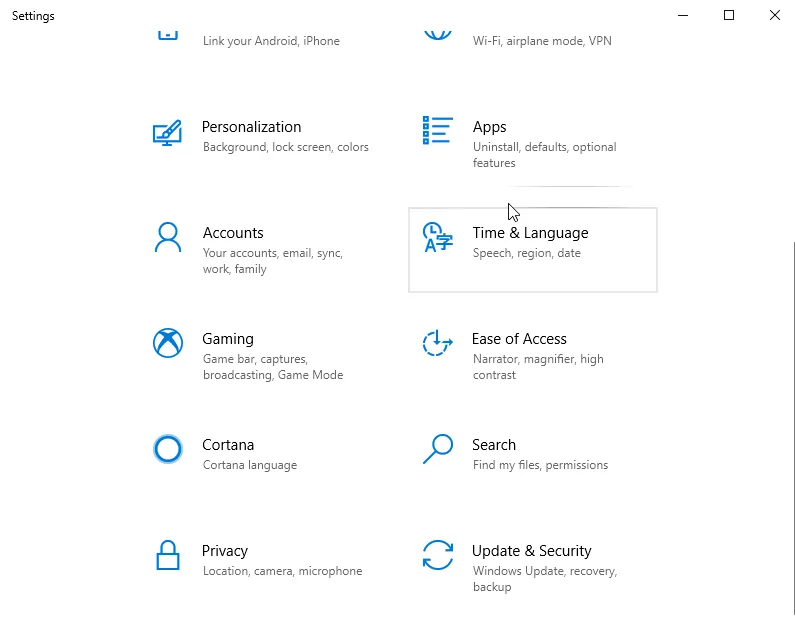
- Select Troubleshoot on the left, then Internet Connections on the right.
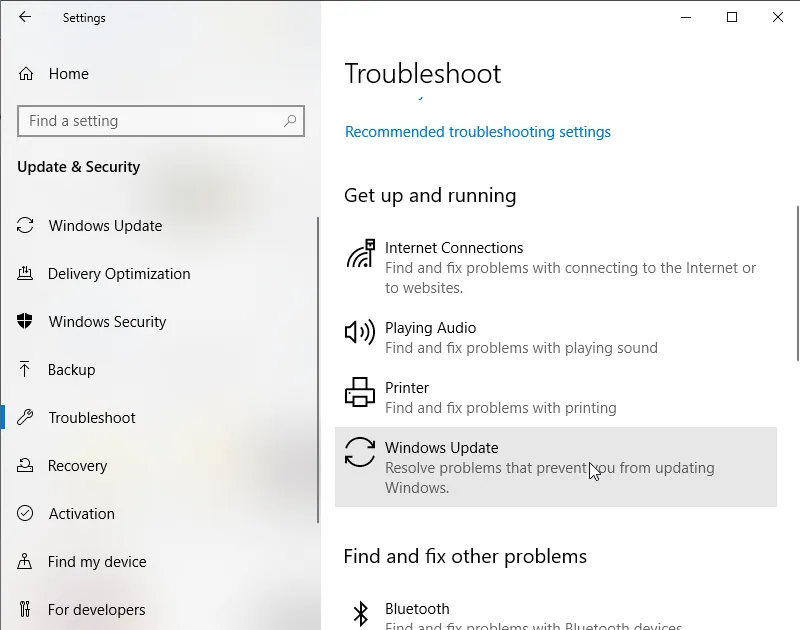
- Click Run the troubleshooter and follow the prompts.
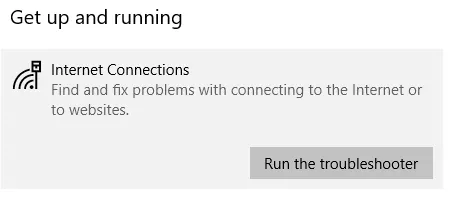
When it finishes, check your connection. If the problem is still there, run the Network Adapter troubleshooter from the same page.
Reset Your Wi-Fi Connection
- Click the Wi-Fi icon in the system tray, right-click your network and choose Forget. Unplug any Ethernet cable too.
- Turn on Airplane mode.
- Restart the PC, then turn Airplane mode off.
- Connect to your Wi-Fi network again and enter the password. Give it a minute or two to settle.
Disable IPv6 on Your Adapter
A number of users fixed the problem simply by turning off IPv6, which most home networks do not rely on.
- Open Network and Sharing Center, click Change adapter settings, right-click the adapter you use and choose Properties.
- Uncheck Internet Protocol Version 6 (TCP/IPv6).
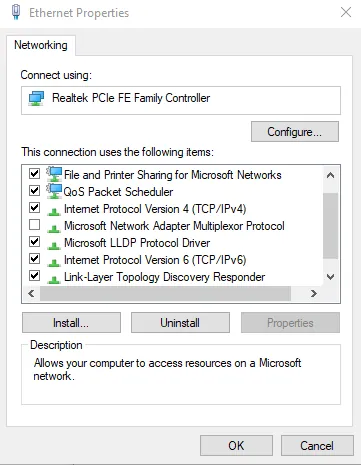
- Click OK and restart the computer.
Reinstall the Network Adapter
Removing the adapter forces Windows to detect it from scratch and load a clean driver.
- Type Device Manager in the search bar and open it.
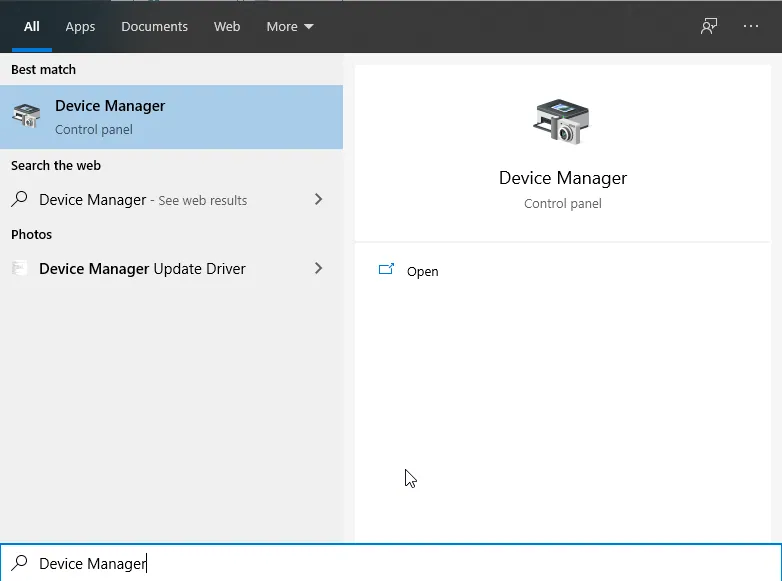
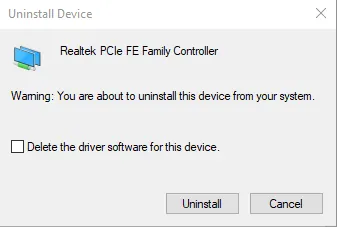
- Expand Network adapters, right-click your adapter and choose Uninstall device.
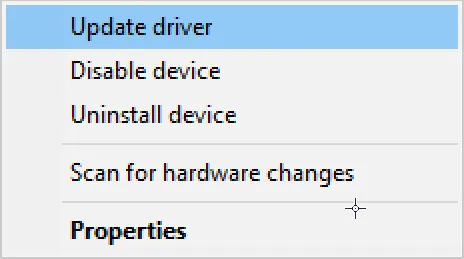
- If offered, tick Delete the driver software for this device, then click Uninstall.
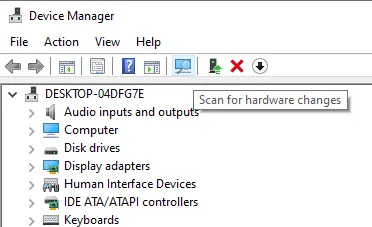
- Click the Scan for hardware changes icon in the toolbar to reinstall the adapter.
- Let the driver finish installing, then restart your PC.
Make Sure the Required Network Items Are Enabled
The message can also appear if one of the adapter's network components has been switched off.
- Click the network icon in the system tray and open your network's settings, then click Change adapter options.
- Right-click your connection and choose Properties.
- Make sure all of these are checked:
- Client for Microsoft Networks
- File and Printer Sharing for Microsoft Networks
- Link-Layer Topology Discovery Mapper I/O Driver
- Internet Protocol Version 4 (TCP/IPv4)
- Reliable Multicast Protocol
- Internet Protocol Version 6 (TCP/IPv6), unless you disabled it in the step above
- Link-Layer Topology Discovery Responder
- Click OK and test the connection. If it still fails, disable the adapter, wait a few seconds and enable it again.
Several users found that Reliable Multicast Protocol in particular made the difference, so double-check that one.
Reset Your Network Configuration
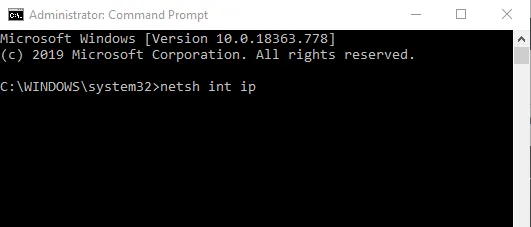
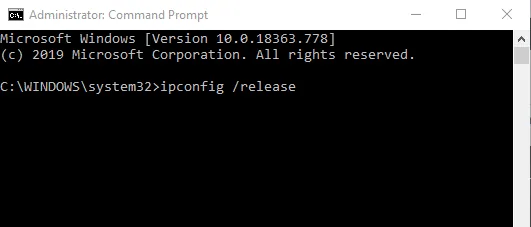
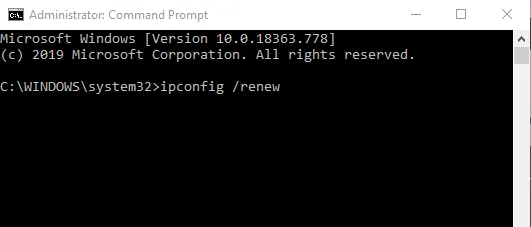
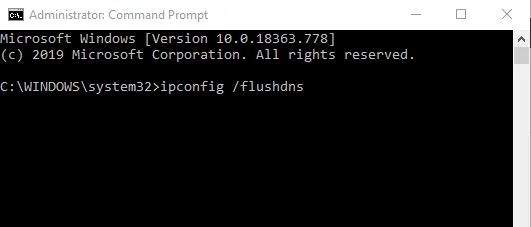
Resetting Winsock and the TCP/IP stack clears out corrupted network settings, and it is one of the most effective fixes on this list.
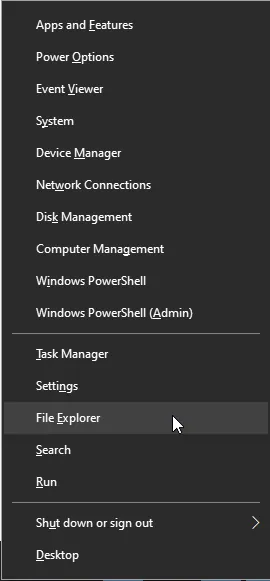
- Press Windows + X and choose Command Prompt (Admin) or Windows PowerShell (Admin).
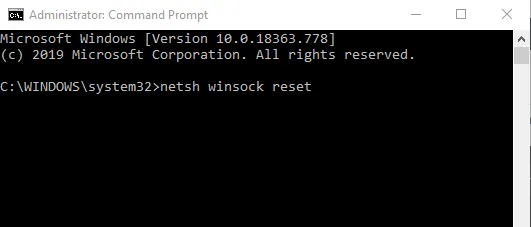
- Run these commands one at a time, pressing Enter after each:
netsh winsock reset
netsh int ip reset
ipconfig /release
ipconfig /renew
ipconfig /flushdns
- Restart your PC.
Check Your Antivirus
Security software with its own firewall or web filter can block your connection by mistake. Temporarily turn off the antivirus's firewall or web protection and test again. If that does not help, disable the antivirus completely for a few minutes, or uninstall it as a test. Microsoft Defender switches on automatically to keep you protected in the meantime.
If removing it solves the problem, reinstall the latest version or switch to a different product. Well-known suites such as Bitdefender, or the built-in Microsoft Defender, generally work without interfering with your network.

Uninstall Programs That Manage Your Network
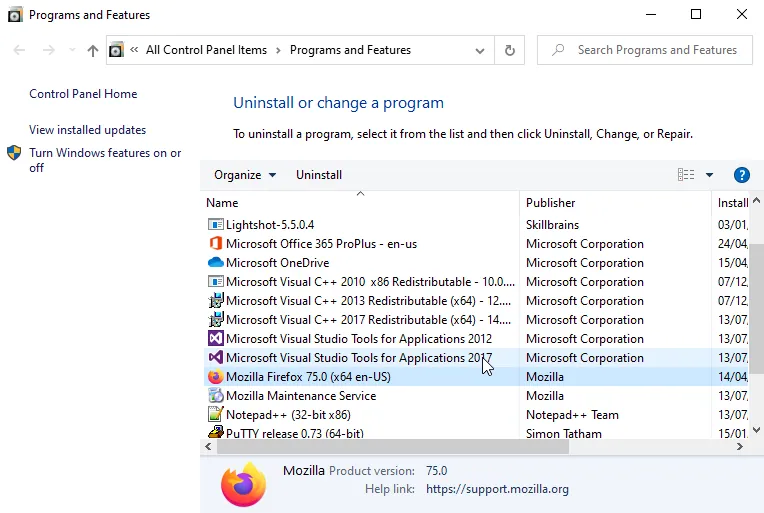
Third-party tools that take control of network connections, such as Intel PROSet, VPN clients or "network booster" utilities, are another known cause. Users reported that removing PROSet fixed the problem straight away. Uninstall such programs from Settings > Apps; a dedicated uninstaller such as IObit Uninstaller or Revo Uninstaller can also clear out the leftover files and registry entries.
Turn on Random Hardware Addresses
- Open Settings > Network & Internet > Wi-Fi.
- Under Random hardware addresses, turn on Use random hardware addresses.
- Reconnect and check whether the problem is gone.
Restart Your Modem and Router
- Unplug the power cable from your modem and router, and remove any backup batteries.
- Wait at least 30 seconds after the lights go out, then plug the modem back in.
- Wait another 60 seconds and plug the router back in.
Restart Your PC and Reconnect
- Click Start, then Power > Restart.
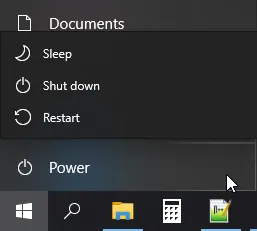
- After the restart, go to Start > Settings > Network & Internet > Wi-Fi, select your network and click Connect.
If the problem persists, contact your internet provider or your router's manufacturer.
Delete Temporary Files
- Press Windows + X and click File Explorer.
- Type C:\Windows\Temp in the address bar and press Enter.
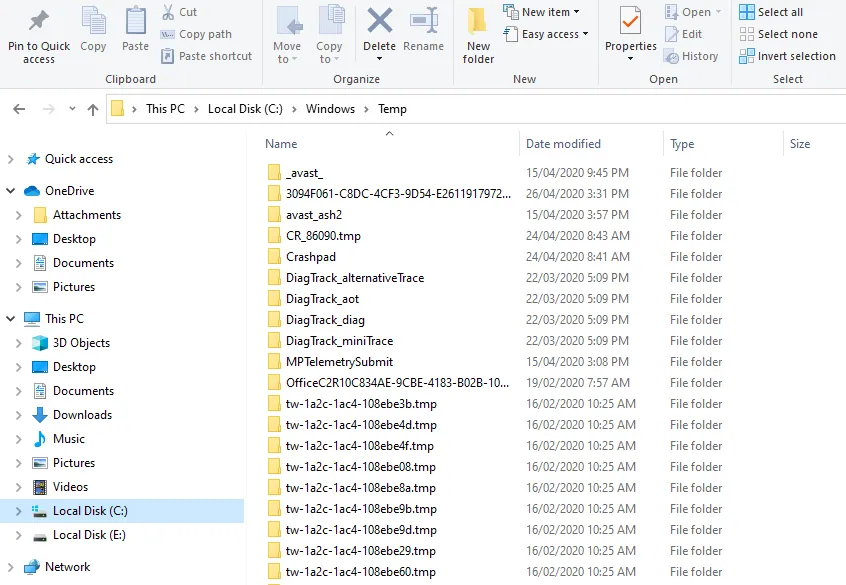
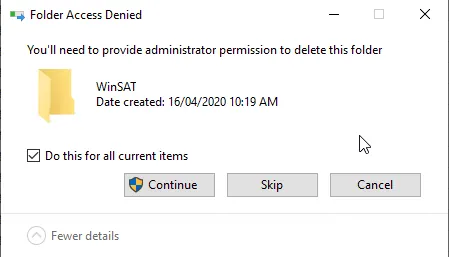
- Click Continue if Windows asks for administrator permission, then select everything in the folder and delete it. Skip any files that are in use.
- Reconnect to the network and check whether the problem is gone.
Sources: drivereasy.com, appuals.com, thegeekpage.com, community.spiceworks.com, windowsreport.com, partitionwizard.com