Stop Code Memory Management in Windows 10: How to Fix It
What causes the MEMORY_MANAGEMENT stop code in Windows 10 and how to fix it: run Windows Memory Diagnostic, SFC and CHKDSK, update drivers and more.
In this article
- What is the Memory Management BSOD?
- What Causes the Memory Management Error?
- How to Fix the Memory Management Stop Code
- Undo Any Overclocking
- Run System File Checker
- Test Your RAM with Windows Memory Diagnostic
- Run a Full Malware Scan
- Repair the Registry and System Files
- Install the Latest Windows Updates
- Clear Temporary Files
- Check Your Drive for Errors
- Remove Recently Installed Software
- Look for Programs with Memory Leaks
- Increase Virtual Memory
- Use System Restore
- Reset Windows 10
- Other Things to Try
Like earlier versions, Windows 10 shows error messages to warn you about problems in the operating system. The most serious of these is the blue screen of death (BSOD), which appears when Windows can no longer run safely and has to shut down to protect your data.
Most blue screens include a stop code that hints at the cause. This guide is about one of the most common:
Stop code: MEMORY MANAGEMENT
If you have seen that message, here is what it means and how to fix it. (If your blue screen shows a different code, see our guide to Kernel Security Check Failure on Windows 10.)
What is the Memory Management BSOD?
Memory management is the part of Windows that controls your computer's memory. It decides which blocks of RAM each program and process gets, tracks what is in use, and keeps everything running efficiently.
Because it is so central, a problem with memory management quickly turns into a serious one. The MEMORY_MANAGEMENT blue screen means Windows detected that something went wrong in this process and stopped the system before any damage could be done.
What Causes the Memory Management Error?
Most memory management errors come from faulty hardware, faulty software, incorrect settings or a combination of these. The most common culprits are:
- Faulty or outdated drivers
- Corrupted or damaged system files
- Conflicts between hardware devices or programs
- Defective RAM
- Disk or drive errors
- BIOS problems
The list is not exhaustive, but these causes account for the vast majority of cases.
How to Fix the Memory Management Stop Code
Before trying anything complicated, restart your computer, ideally a few times, and see how it behaves. Then try to reproduce the crash: if it happened while streaming 4K video or playing a 3D game, do the same thing again for a while. If the blue screen does not return, it may have been a one-off.
If it does return, start with the first fix below and work your way down the list until the problem is solved.
Undo Any Overclocking
Blue screens are very common on overclocked PCs. Running the CPU, GPU or memory faster than designed pushes them outside their stable limits. If you use overclocking tools or have changed clock speeds in the BIOS, return everything to the default settings and check whether the error persists.
Run System File Checker
System File Checker (SFC) is Microsoft's built-in tool for finding and repairing corrupted system files. Many users who kept getting this error even after several restarts found that SFC fixed it.
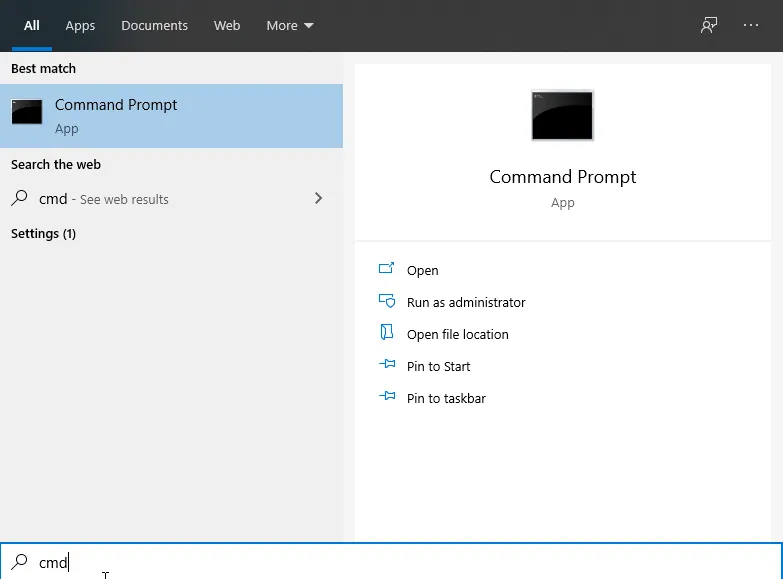
- Press Windows + X and choose Command Prompt (Admin).
- Type
sfc /scannowand press Enter.
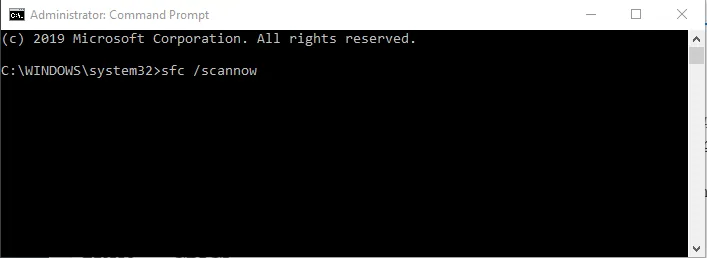
- Wait for the scan to finish (it can take some time). Corrupted files are replaced automatically; restart the PC when it is done.
Test Your RAM with Windows Memory Diagnostic
If SFC finds nothing and the error keeps coming back, your RAM is the next suspect. Before you replace anything, confirm that the memory is actually faulty.
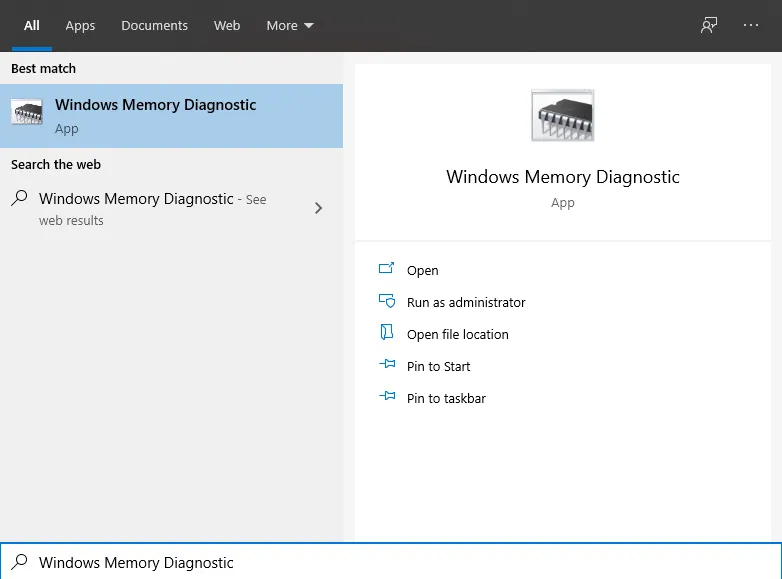
- Type Windows Memory Diagnostic in the search box and open it.
- Choose Restart now and check for problems.
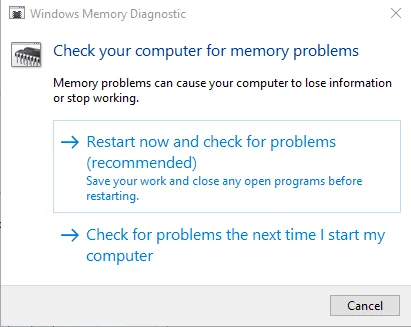
- Your PC restarts and runs the test. The results appear after Windows starts again.
If the tool reports errors, the memory needs to be replaced. With more than one module installed, test them one at a time to find the faulty one.
Run a Full Malware Scan
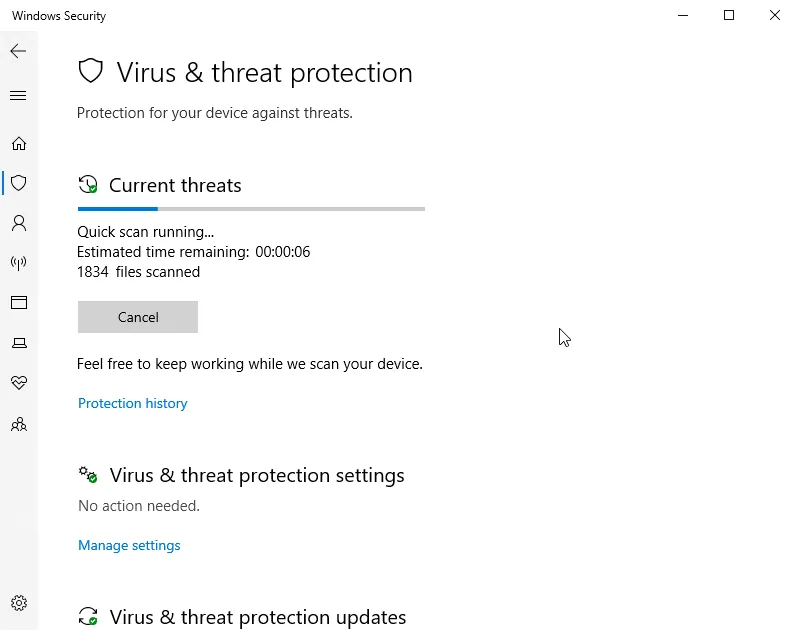
Malware can cause all kinds of problems, including system crashes. Microsoft Defender is built into Windows 10:
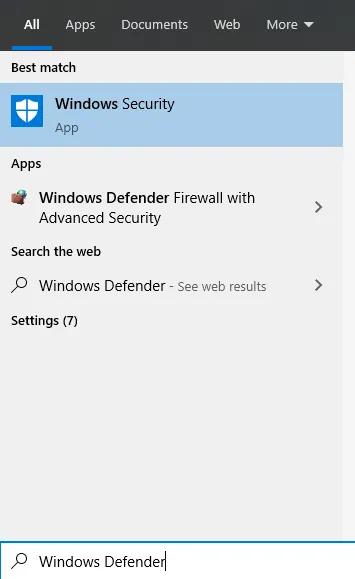
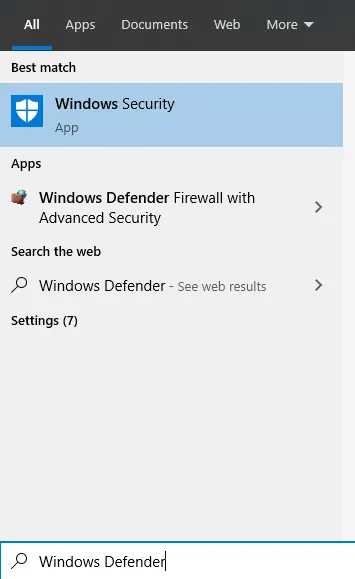
- Search for Windows Security (Windows Defender) and open it.
- Click Virus & threat protection.
- Click Scan options below the Quick scan button.
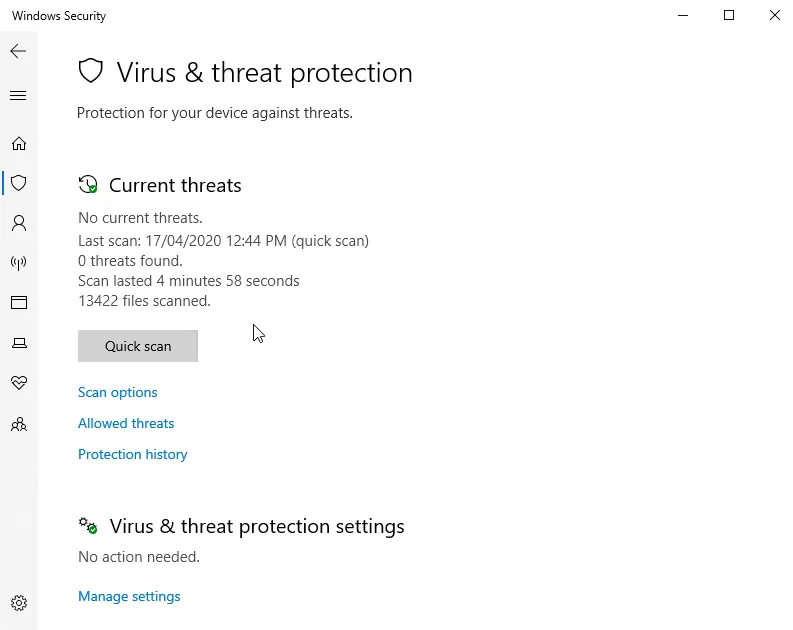
- Select Full scan and click Scan now.
Repair the Registry and System Files
A damaged registry can also contribute to crashes. Registry cleaners such as CCleaner exist, but Microsoft does not support them and they rarely fix blue screens; if you use one, back up the registry first. The safer approach is to let Windows repair itself: run SFC again as shown above, and if it reports files it cannot fix, run DISM /Online /Cleanup-Image /RestoreHealth in the same administrator Command Prompt, then run SFC once more.
- Open Command Prompt (Admin).
- Type
sfc /scannowand press Enter.
- Restart your computer when the scan finishes.
Install the Latest Windows Updates
Microsoft regularly releases updates that fix bugs and improve stability, and some of them target exactly this kind of crash. Type update in the search box, open Windows Update, click Check for updates and install everything that is available, including optional driver updates.
Clear Temporary Files
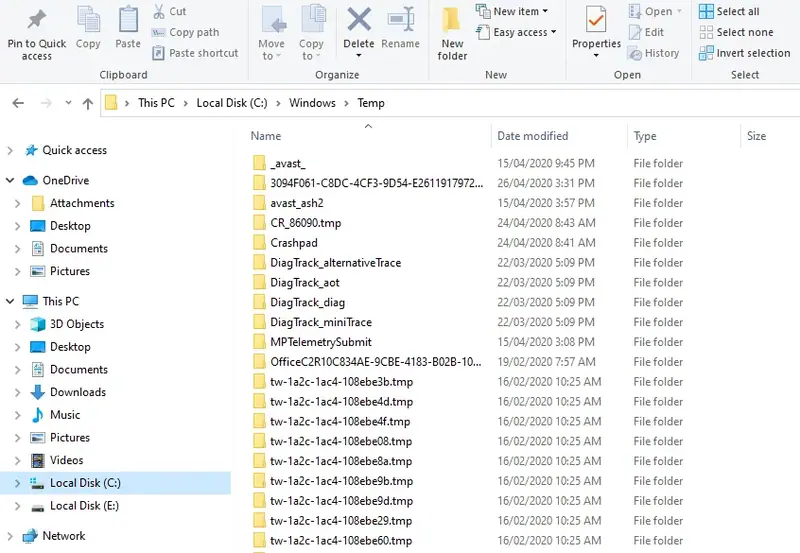
As you use your PC and browse the web, Windows collects a lot of temporary files. Too many of them can slow the system down and occasionally trigger errors, including memory management problems. Disk Cleanup is the quickest way to remove them:
- Type Disk Cleanup in the search box and open it.
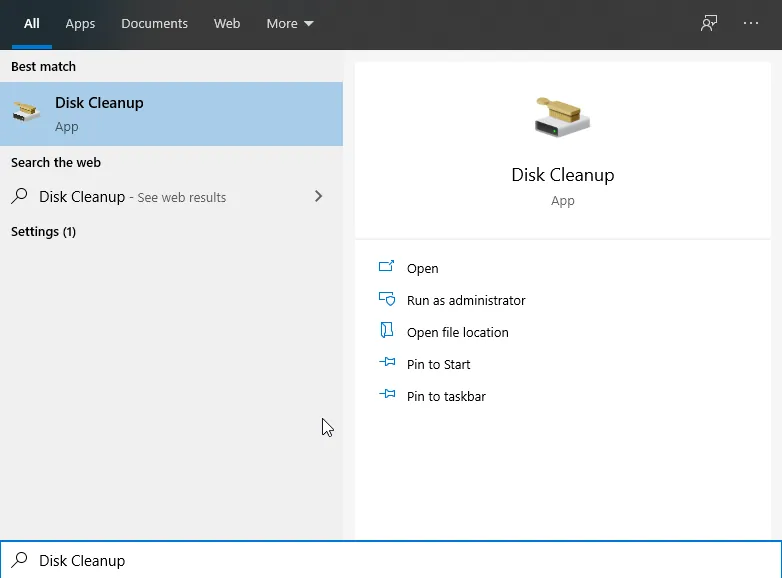
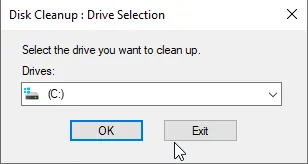
- Choose the drive to clean. The tool shows how much space you can free up.
- Click Clean up system files, tick the file types you want to delete and click OK.
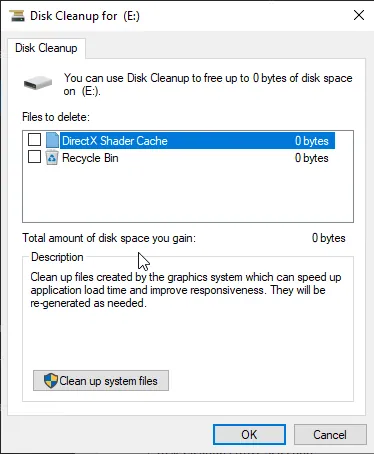
On Windows 7 the steps are almost identical: open Start, search for Disk Cleanup, choose Clean up system files, pick the drive, select the file types and click Delete Files.
Check Your Drive for Errors
Disk errors can cause memory management crashes too, because Windows uses part of the drive as virtual memory. To check the drive:
- Open Command Prompt as administrator.
- Type
chkdsk C: /fand press Enter, replacing C with the letter of the drive you want to check. - To also look for physical problems (bad sectors), use
chkdsk C: /f /rinstead.
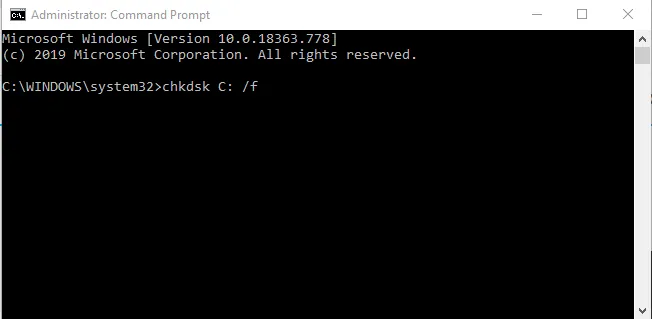
Without the /f parameter, CHKDSK only reports errors and does not fix them. If you check the Windows drive, the scan runs at the next restart. On Windows 7, you can also right-click the drive in Computer, choose Properties > Tools and click Check now.
Remove Recently Installed Software
If the blue screens started after you installed something new, uninstall it:
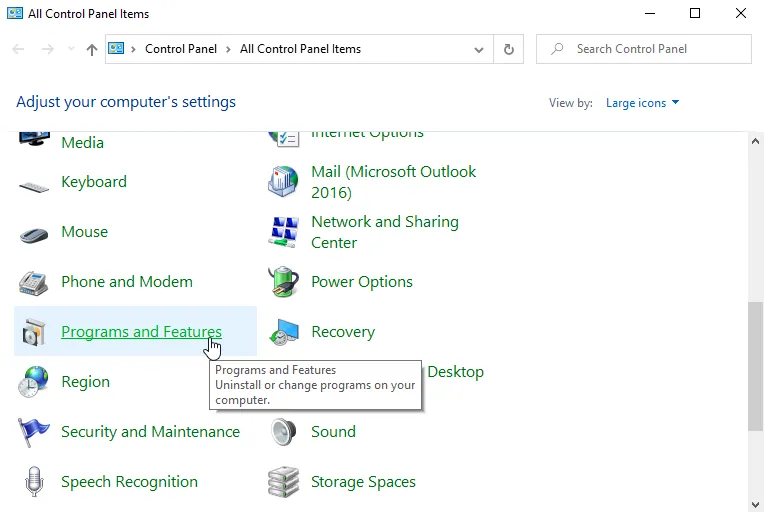
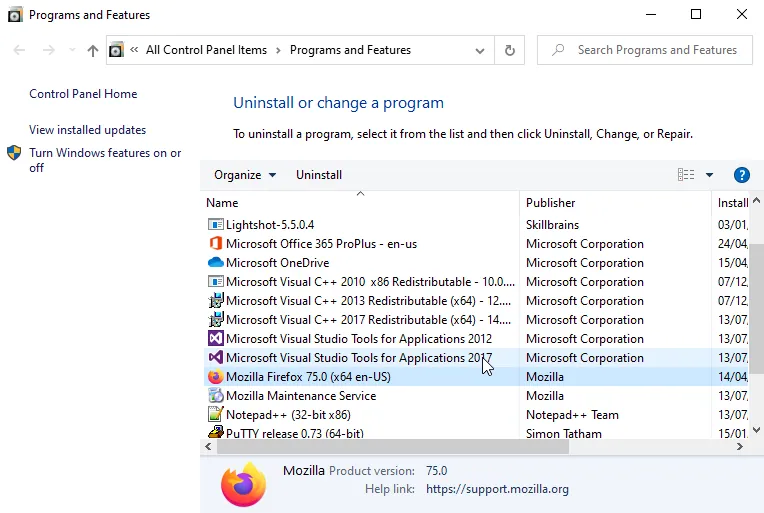
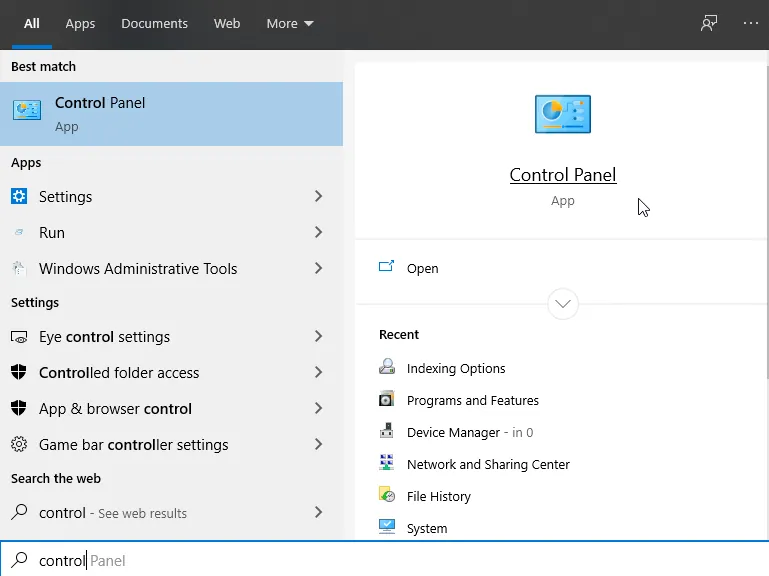
- Open Control Panel from the Start menu.
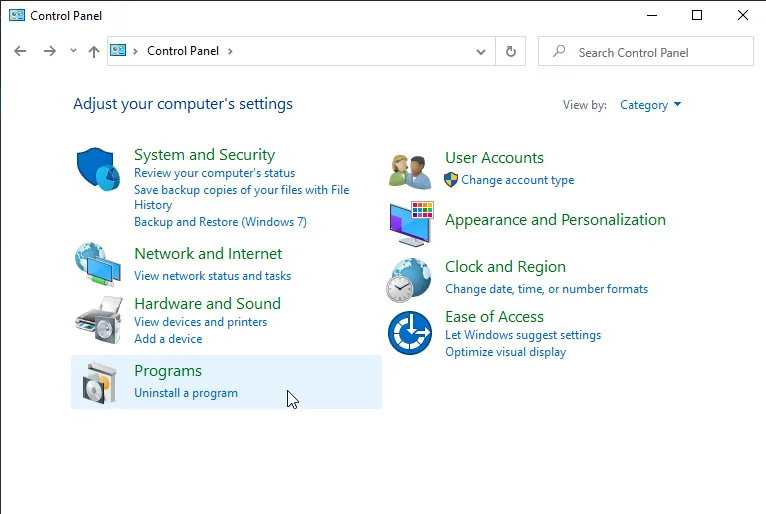
- Click Uninstall a program, select the recently installed program and click Uninstall.
- Restart your computer and check whether the problem is gone.
Look for Programs with Memory Leaks
A program with a memory leak keeps claiming more and more RAM without releasing it. Open Task Manager (Ctrl + Shift + Esc), go to the Processes tab and click the Memory column to sort by memory use. If one program is using an unusually large amount, select it, click End task, and see whether the crashes stop. Then update or replace that program.
Increase Virtual Memory
Virtual memory (the paging file) is space on your drive that Windows uses when RAM runs low. If it is too small, memory errors can follow. You can enlarge it manually:
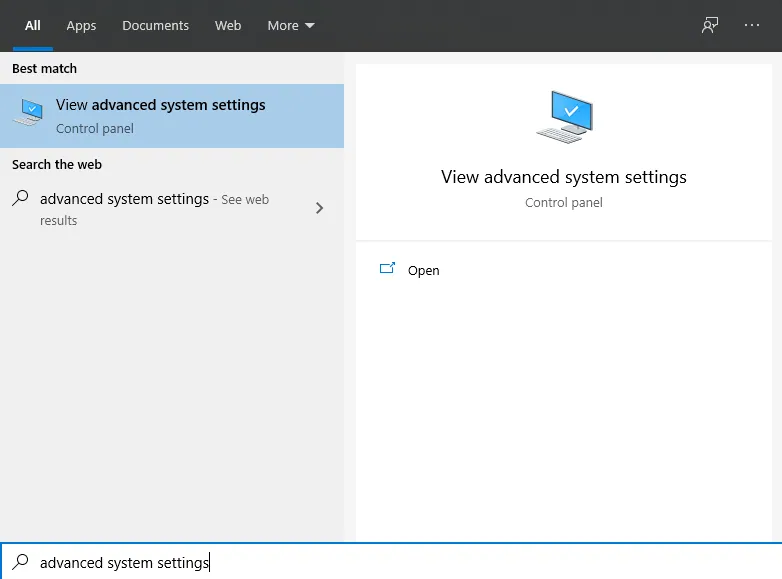
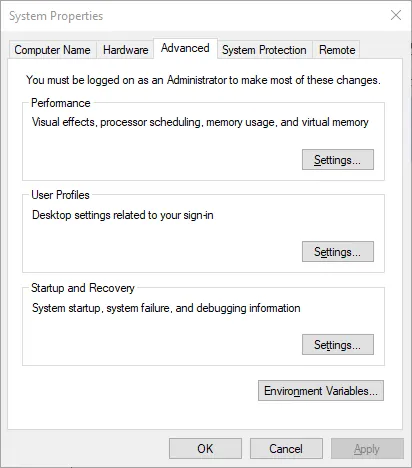
- Type advanced system settings in the search box and open View advanced system settings.
- On the Advanced tab, click Settings under Performance.
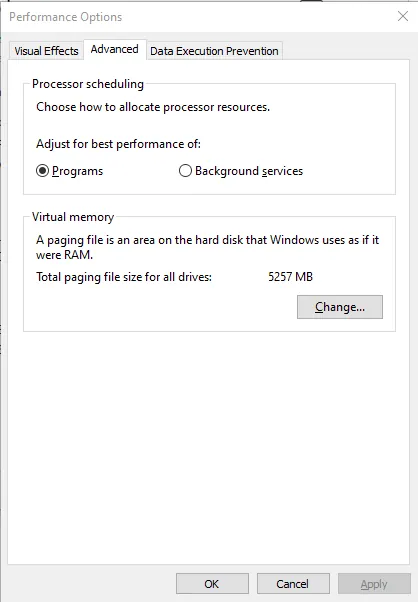
- Open the Advanced tab again and click Change under Virtual memory.
- Uncheck Automatically manage paging file size for all drives, select your system drive and choose Custom size.
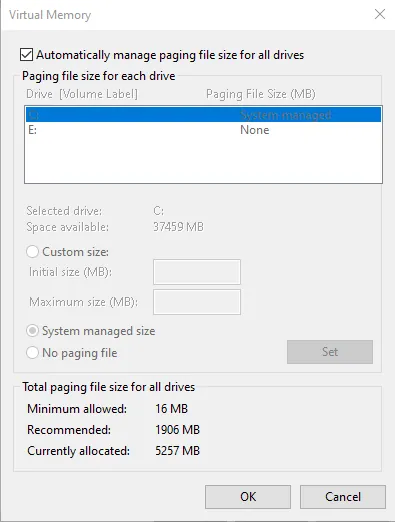
- Enter values in megabytes for Initial size and Maximum size (a common rule is 1.5 times and 3 times your installed RAM), click Set, then OK, and restart.
Use System Restore
If the problem started recently, System Restore can take Windows back to a time when everything worked. It removes programs and drivers installed since then but leaves your personal files alone.
- Type system properties in the search box and open it.
- Go to the System Protection tab and click System Restore.
- Click Next, choose a restore point from before the crashes began, then click Next and Finish.
- Your PC restarts and the restore begins. Check afterwards whether the error is gone.
Reset Windows 10
As a last resort, Windows 10 can reinstall itself while keeping your personal files.
- Open Settings.
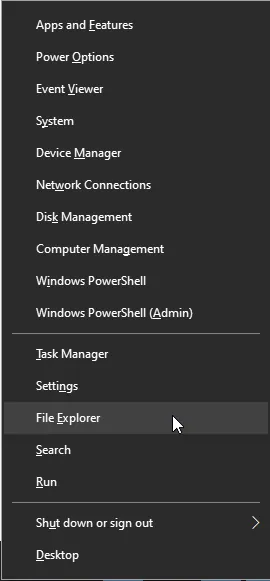
- Go to Update & Security.
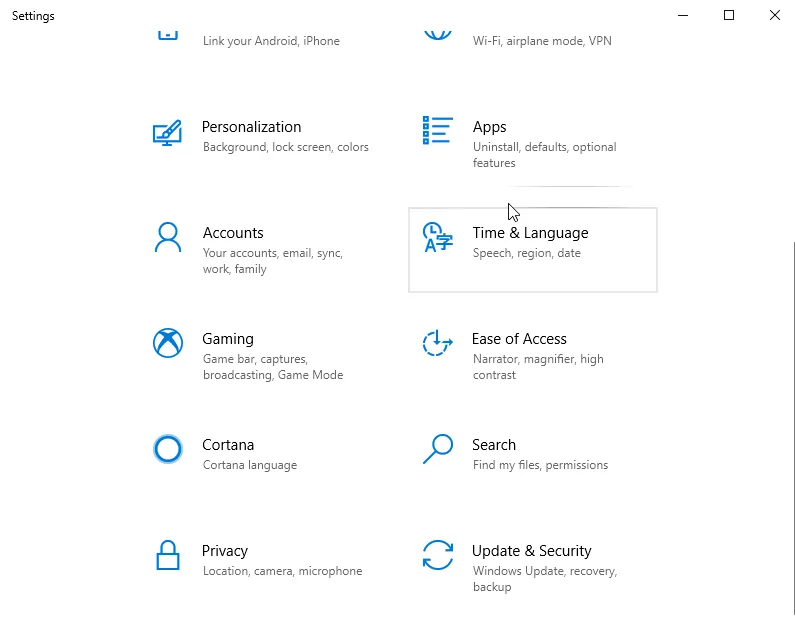
- Select Recovery and click Get started under Reset this PC.
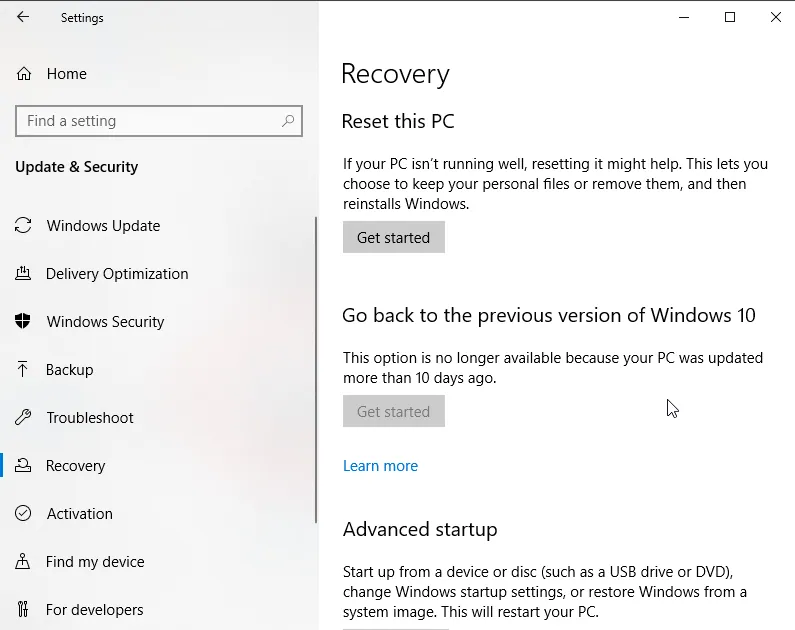
- Follow the on-screen instructions to finish the reset.
If the blue screen returns even on a freshly reset system, the cause is almost certainly hardware, most likely the RAM.
Other Things to Try
If none of the fixes above worked, other users have had success with these:
- Look for programs that conflict with each other, especially two antivirus or system utilities running at once.
- Disable unused or unknown modems in Device Manager.
- Uninstall Gigabyte's Energy Saver utility if it is installed.
Sources: drivereasy.com, ilounge.com, helpdeskgeek.com, auslogics.com, windowsreport.com