Service Host SuperFetch High Disk Usage: How to Fix It
Service Host: SuperFetch using 100% disk or CPU on Windows 10? Learn what the service does and how to disable it through Services, the Registry or Command Prompt.
In this article
- What is Service Host SuperFetch?
- Why SuperFetch Causes 100% Disk Usage in Windows 10
- How to Fix Service Host SuperFetch High Disk Usage
- Disable SuperFetch in Services
- Disable SuperFetch in the Registry
- Disable SuperFetch from Command Prompt
- Run System File Checker and DISM
- End the Service Host Process
- Adjust Processor Scheduling
- Disable Background Intelligent Transfer Service
- Run the Windows Update Troubleshooter
- Should You Keep SuperFetch Disabled?
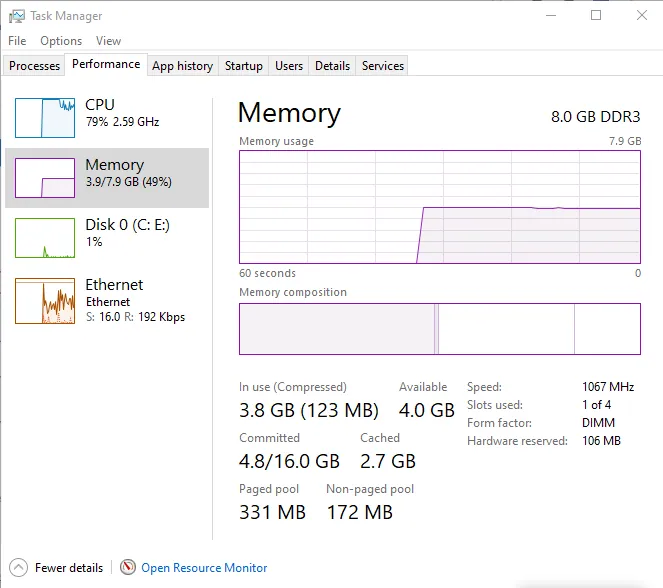
Many Windows users have run into the same frustrating problem: Task Manager shows a process called Service Host: Local System (svchost.exe) using up to 95% of the CPU, the disk, or both. The problem first appeared in Windows 8 and continues to affect Windows 10. Some users have measured the disk being kept busy at around 72 MB/s by this one entry alone.
The tricky part is that "Service Host: Local System" is not a single service. It is a container that runs many Windows services at once, and any one of them could be responsible. A memory leak in the non-paged memory pool can also produce the same symptoms. In practice, though, the most common culprit is a service called SuperFetch. Microsoft designed it to keep your PC fast over time, but on many systems it does the opposite.
What is Service Host SuperFetch?
Service Host groups together a large number of system processes running on your Windows 10 PC. The Local System group includes services such as Windows Update, SuperFetch, Remote Access Connection Manager and the Update Orchestrator Service.
Windows Update is one of the biggest contributors to Service Host's CPU and disk usage, and while it runs it can slow the computer down noticeably. The other big contributor is SuperFetch.
SuperFetch is an advanced memory manager. It watches which programs you use most over time and preloads their files into RAM so they start faster, a bit like a disk cache. It was introduced in Windows Vista as the successor to Prefetch from Windows XP. In Windows 10 version 1809 and later, it appears under the name SysMain.
High disk usage from SuperFetch is not always a fault; reading files into memory is how it works. But on older hardware, especially PCs with a traditional hard drive and limited RAM, it can keep the disk busy almost constantly.
Why SuperFetch Causes 100% Disk Usage in Windows 10
If SuperFetch is meant to help, why does it so often cause trouble? There are a few reasons:
- The memory manager itself needs a certain amount of RAM and runs constantly in the background.
- It can get its predictions wrong, preloading the wrong programs or not knowing when to stop.
- At startup it tries to load everything at once, including work that could easily wait, which makes boot times worse.
- Many gamers report that it lowers frame rates, and others see sudden memory spikes that can even freeze the system briefly.
The fixes below start with disabling SuperFetch and then cover the other services that commonly overload Service Host.
How to Fix Service Host SuperFetch High Disk Usage
Disable SuperFetch in Services
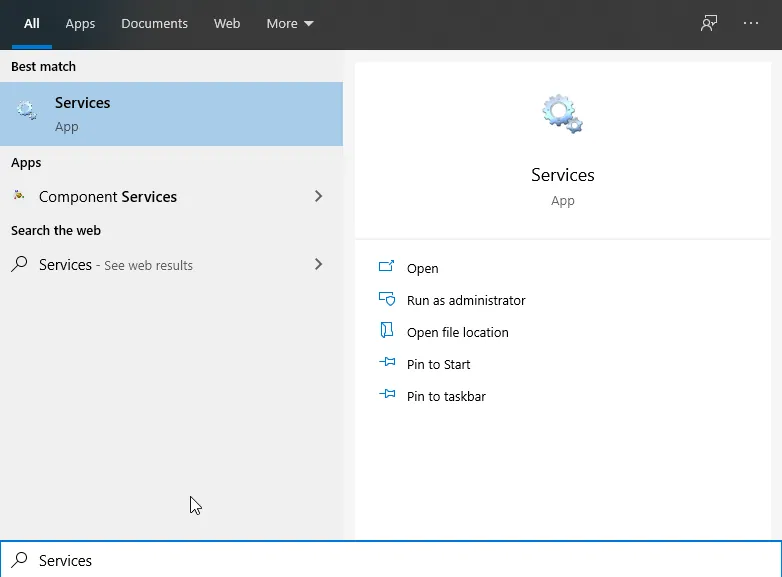
- Click Start, type Services and open the Services app.
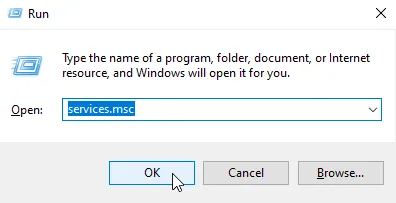
- Alternatively, press Windows + R, type services.msc and press Enter.
- Scroll down and double-click SuperFetch (or SysMain on newer Windows 10 versions).
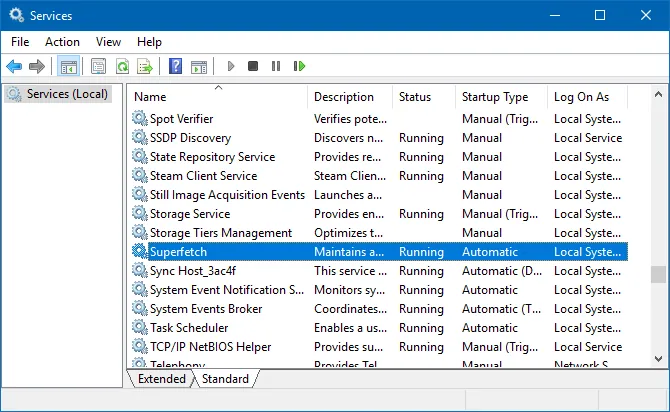
Image source: makeuseof.com - Set Startup type to Disabled so it no longer starts with Windows.
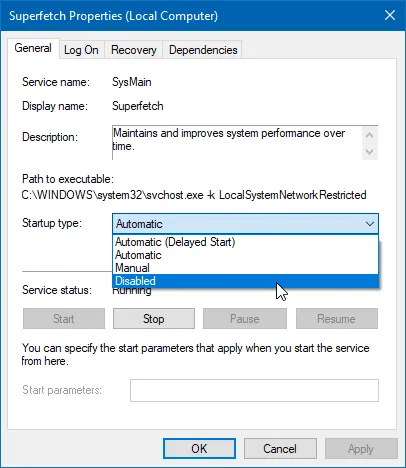
Image source: makeuseof.com - Click Stop to end the service now, then click OK.
Restart your computer afterwards. In our tests, CPU usage dropped immediately after disabling the service, but some leftover activity from "Service Host: Local System (Network Restricted)" only disappeared after a full restart.
Disable SuperFetch in the Registry
If the service keeps coming back, you can switch SuperFetch off in the registry:
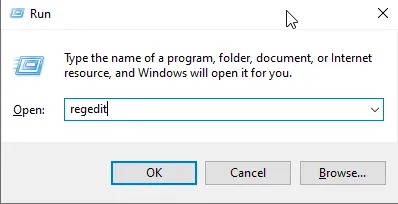
- Press Windows + R, type regedit and press Enter.
- Go to HKEY_LOCAL_MACHINE\SYSTEM\CurrentControlSet\Control\Session Manager\Memory Management\PrefetchParameters.
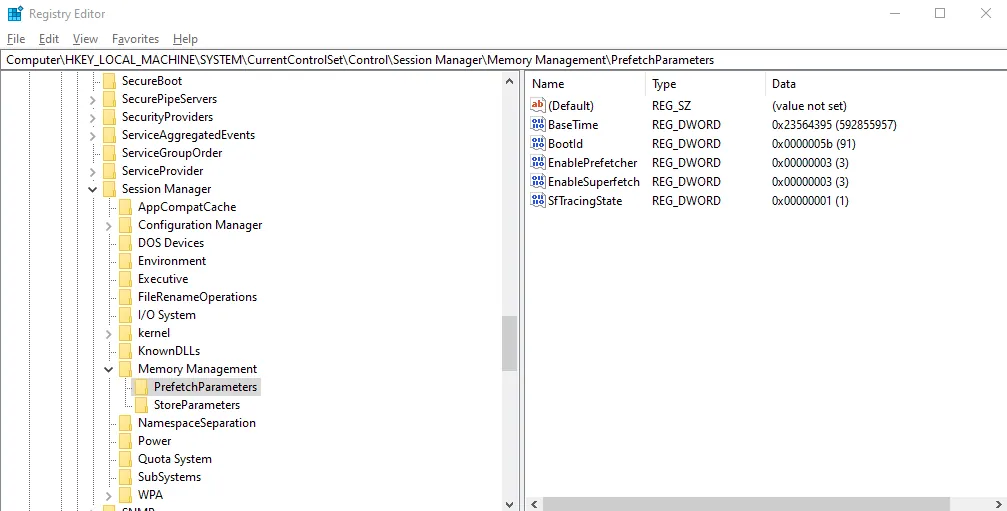
- With PrefetchParameters selected, double-click EnableSuperfetch in the right pane and change its value to 0. (If it does not exist, create it as a new DWORD value.)
- Click OK, close Registry Editor and restart your PC.
Disable SuperFetch from Command Prompt
The same result can be achieved with two commands:
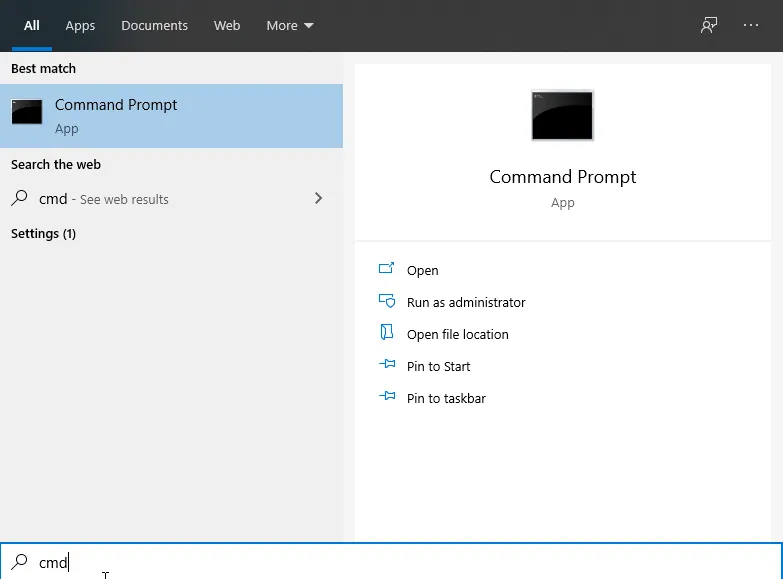
- Search for cmd, right-click Command Prompt and choose Run as administrator.
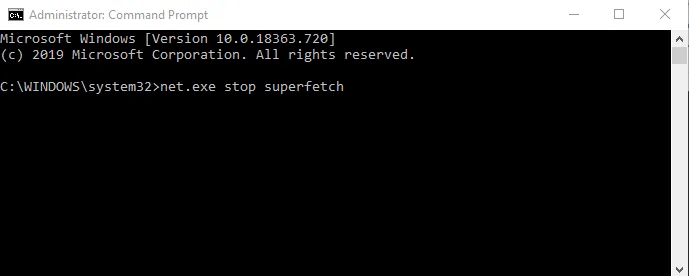
- Type
net.exe stop superfetchand press Enter to stop the service. (On newer versions, usenet.exe stop sysmain.)
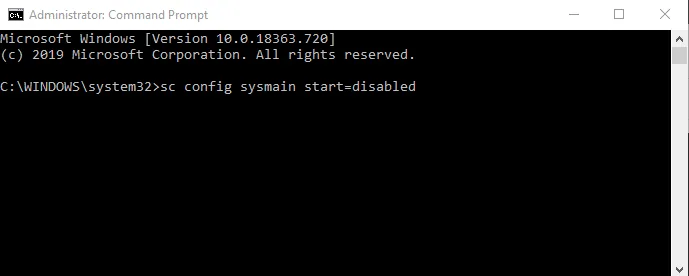
- Type
sc config sysmain start=disabledand press Enter so it does not start again.
Run System File Checker and DISM
Corrupted system files can make Service Host misbehave. SFC and DISM find and repair them.
- Search for cmd, right-click Command Prompt and choose Run as administrator. Accept the User Account Control prompt.
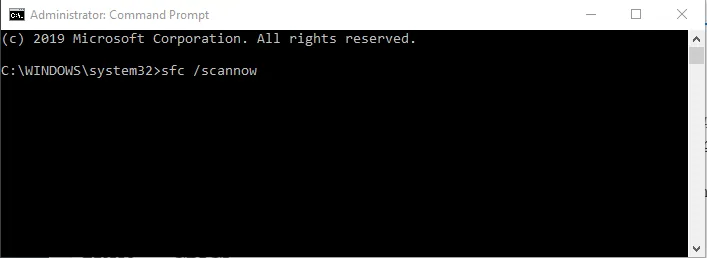
- Type the following and press Enter:
sfc /scannow
If that fails, try:
sfc /scannow /offbootdir=c:\ /offwindir=c:\windows
If repairs are made, you will see "Windows Resource Protection found corrupt files and successfully repaired them," with details in %WinDir%\Logs\CBS\CBS.log.
- Restart your PC, open an administrator Command Prompt again and run these commands one at a time:
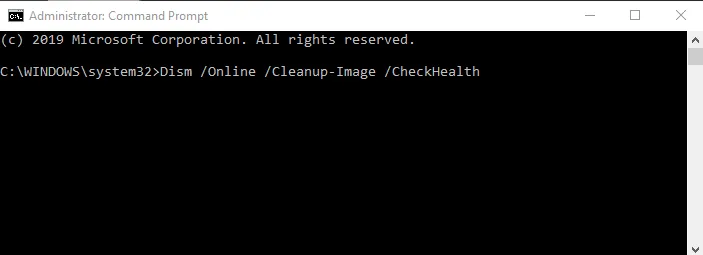
Dism /Online /Cleanup-Image /CheckHealth
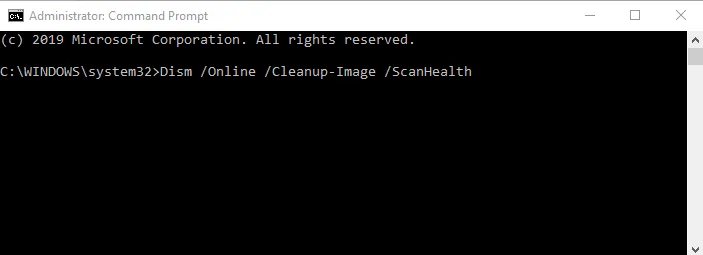
Dism /Online /Cleanup-Image /ScanHealth
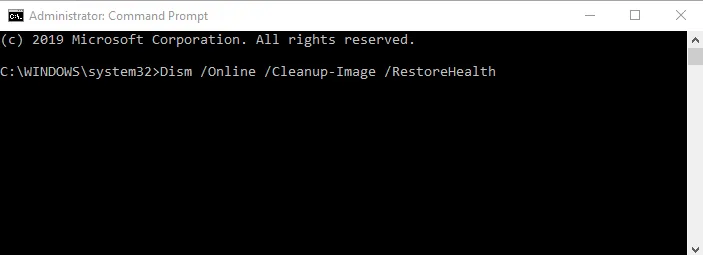
Dism /Online /Cleanup-Image /RestoreHealth
- Let DISM finish. If RestoreHealth fails because it cannot download repair files, point it to a Windows installation or recovery disc instead:
Dism /Online /Cleanup-Image /RestoreHealth /Source:c:\test\mount\windows /LimitAccess
Replace c:\test\mount\windows with the location of your repair source.
- Restart the PC and check CPU and memory usage in Task Manager again.
End the Service Host Process
Ending the Service Host process that runs Windows Update can bring an immediate drop in usage. Afterwards, let pending updates download over an unmetered Wi-Fi connection.
- Press Ctrl + Shift + Esc, or right-click the taskbar and choose Task Manager.
- Click More details to see all running processes.
- Find Service Host: Local System, the group that runs Windows Update and the Update Orchestrator Service. Select it and click End task.
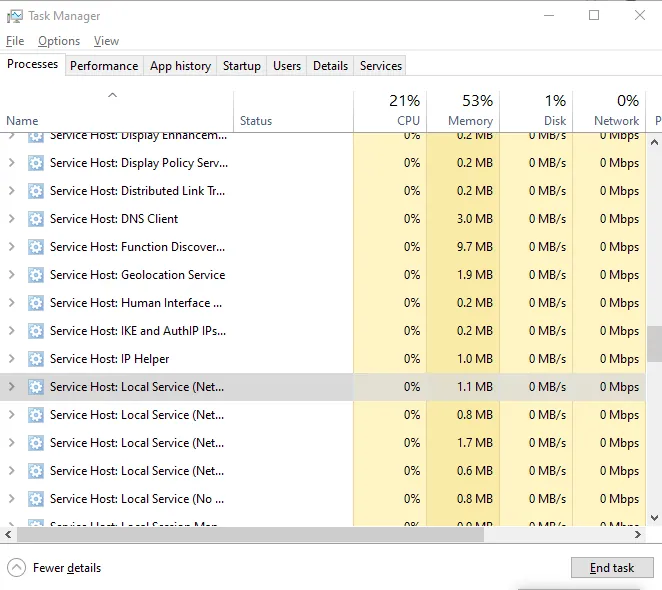
- When asked to confirm, tick Abandon unsaved data and shut down and click Shut down.
- Watch the CPU load to see whether the problem is solved.
Adjust Processor Scheduling
- Press Windows + R, type sysdm.cpl and press Enter to open System Properties.
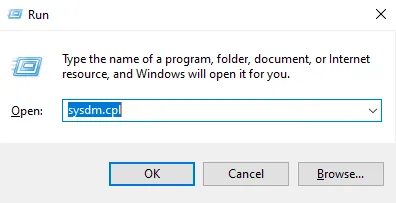
- On the Advanced tab, click Settings under Performance.
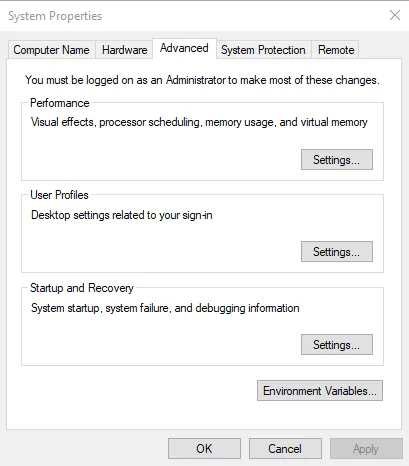
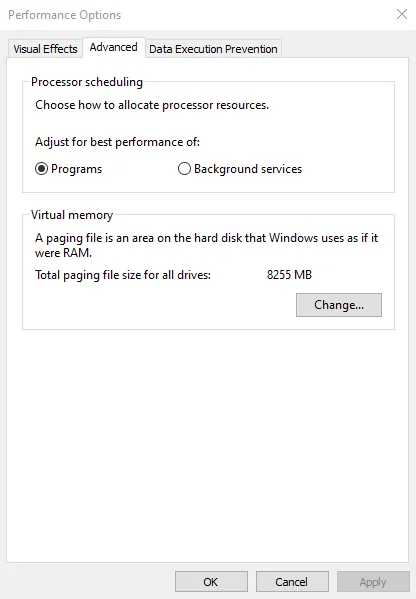
- Open the Advanced tab in Performance Options.
- Under Processor scheduling, choose Programs, then click Apply and OK.
- Restart your PC.
Disable Background Intelligent Transfer Service
BITS downloads updates in the background and can add to Service Host's load. You can turn it off temporarily (re-enable it later so Windows Update keeps working).
- Press Windows + R, type msconfig and press Enter.
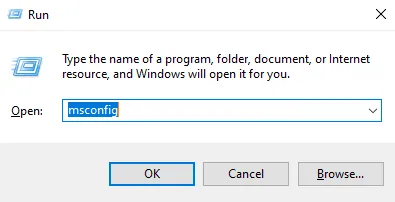
- On the Services tab, uncheck Background Intelligent Transfer Service.
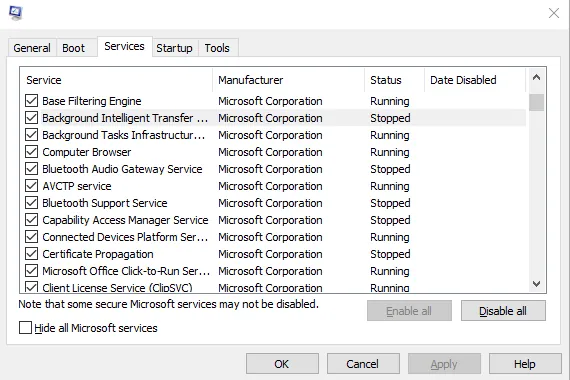
- Click Apply and OK.
Run the Windows Update Troubleshooter
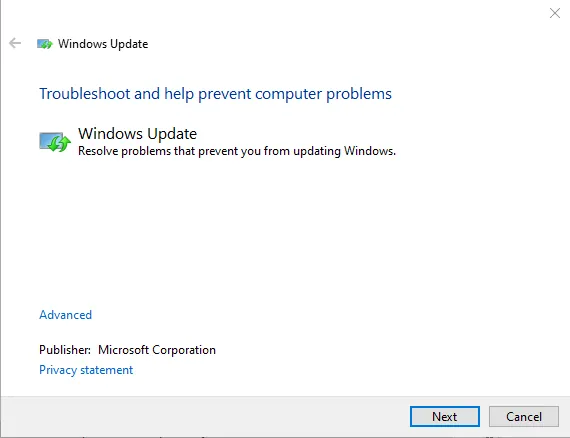
Windows Update automatically downloads and installs updates for Windows, Microsoft Defender and your drivers, and it is an essential part of Windows 10. But when it gets stuck, it can keep the CPU busy for hours. The troubleshooter fixes most of these problems.
- Open Control Panel, set View by to Small icons and click Troubleshooting.
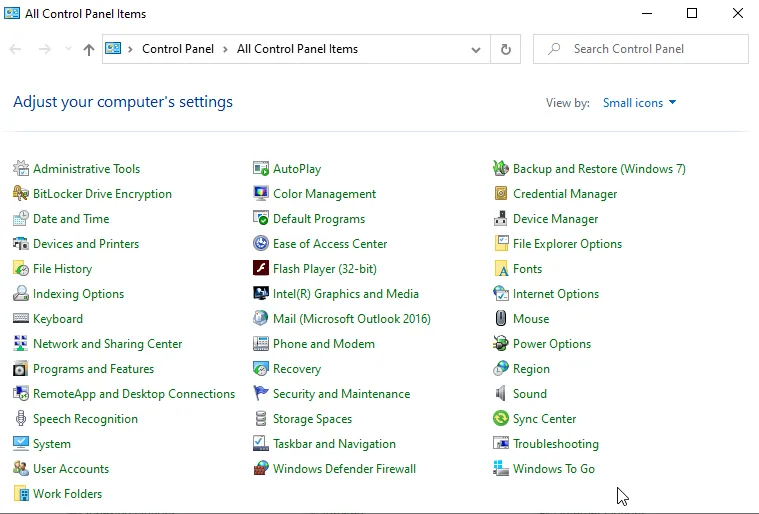
- Click View all in the left pane.
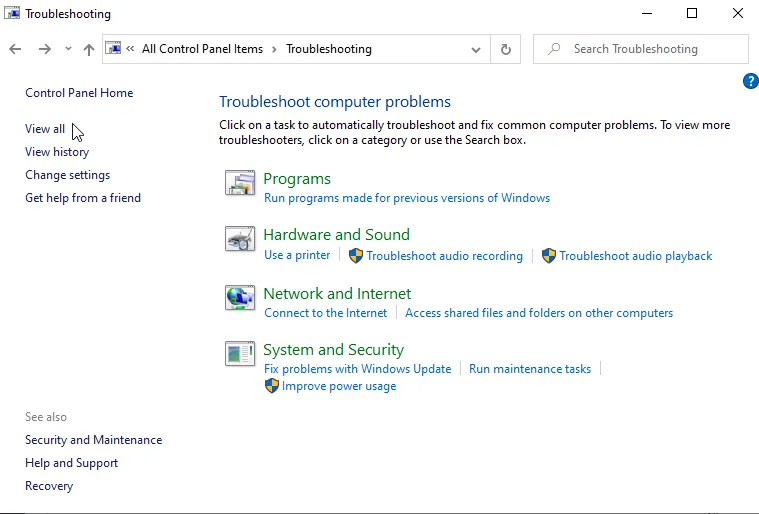
- Right-click Windows Update and choose Run as administrator.
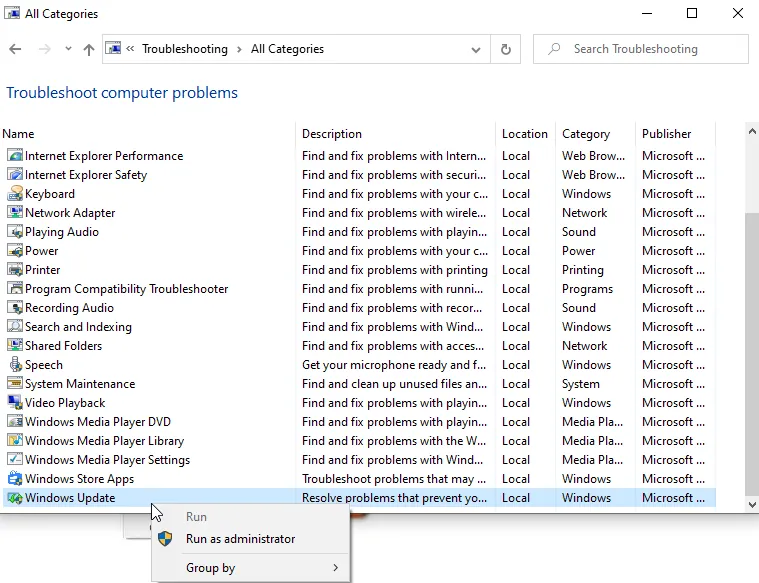
- Click Advanced, make sure Apply repairs automatically is checked, click Next and follow the instructions.
Should You Keep SuperFetch Disabled?
On a PC with an SSD and plenty of RAM, SuperFetch makes little difference either way, so disabling it is harmless. On an older PC with a hard drive, programs may start a little more slowly without it, but most users find the system far more responsive overall. If you notice no improvement after disabling it, turn it back on and focus on the Windows Update fixes instead.
Sources: techolac.com, fossbytes.com, makeuseof.com, pcgamer.com