Microsoft Compatibility Telemetry High Disk Usage: How to Fix
Is Microsoft Compatibility Telemetry (CompatTelRunner.exe) slowing your PC? Learn what telemetry data is and how to stop its high disk and CPU usage.
In this article
- What is Microsoft Compatibility Telemetry?
- How to Fix Microsoft Compatibility Telemetry High Disk Usage
- Update Your Device Drivers
- Disable the Telemetry Service
- Free Up Space with Disk Cleanup
- Turn Off Telemetry in the Registry
- Turn Off Telemetry with Group Policy
- Disable Telemetry from Command Prompt
- Disable CompatTelRunner.exe in Task Scheduler
- Delete CompatTelRunner.exe (Advanced)
- Conclusion
Is your PC suddenly sluggish, with the disk light constantly on? Open Task Manager and you may find Microsoft Compatibility Telemetry (CompatTelRunner.exe) near the top of the list, using a large share of your disk or CPU. Many users first notice it right after a Windows 10 update. Here is what this process does and the different ways to tame it.
What is Microsoft Compatibility Telemetry?
Microsoft Compatibility Telemetry is a Windows service that collects technical data about how your PC, its devices and its software are working, and periodically sends that data to Microsoft. It includes information such as how often programs are used and which features are used, along with system diagnostics, information about system files and other performance metrics.
Microsoft uses this data to:
- Find and fix problems in Windows 10 and plan feature updates
- Keep the operating system reliable, secure and fast, even under difficult conditions
- Personalize parts of the Windows experience
- Improve performance based on aggregated data from many PCs
Telemetry is not unique to Windows 10. It was added to Windows 7 and 8 through updates, and it runs through the Connected User Experiences and Telemetry service (formerly the Diagnostics Tracking Service).
There is plenty of debate about how much data Windows should collect, but the practical problem most users face is performance. When the compatibility checks run, CompatTelRunner.exe can scan large numbers of files, keeping the disk busy and slowing everything else down. The methods below reduce or switch off that activity.
How to Fix Microsoft Compatibility Telemetry High Disk Usage
Update Your Device Drivers
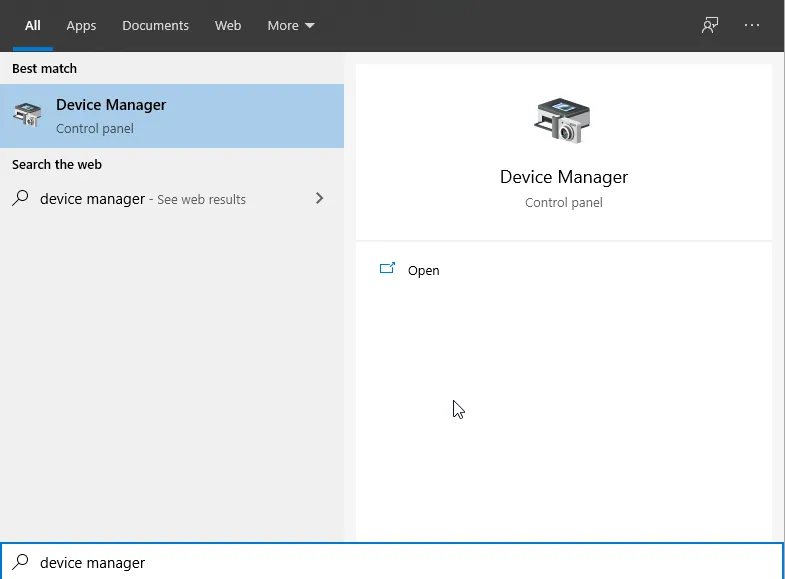
Outdated drivers can make the telemetry scan take far longer than it should, so updating them is a sensible first step. You can download drivers from each manufacturer's website, or update them through Device Manager:
- Type Device Manager in the search box and open it.
- Right-click the device you want to update and choose Properties.
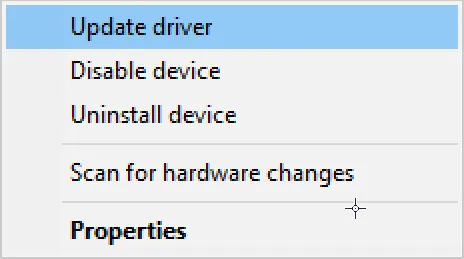
- Open the Driver tab and click Update Driver.
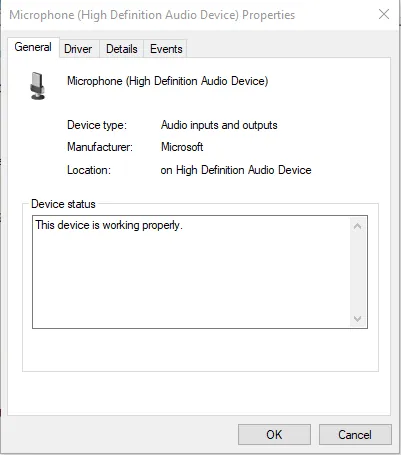
- When you have finished updating, restart the computer so the new drivers are loaded.
Disable the Telemetry Service
Stopping the Connected User Experiences and Telemetry service is the quickest and most effective fix.
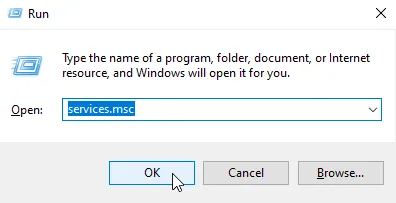
- Press Windows + R, type services.msc and click OK.
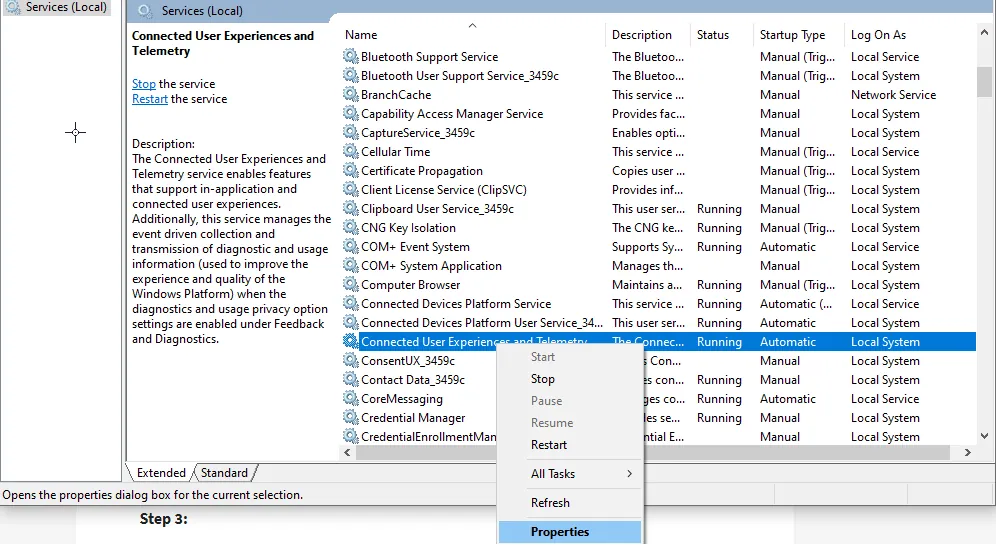
- Find Connected User Experiences and Telemetry, right-click it and choose Properties.
- Click Stop, then set Startup type to Disabled.
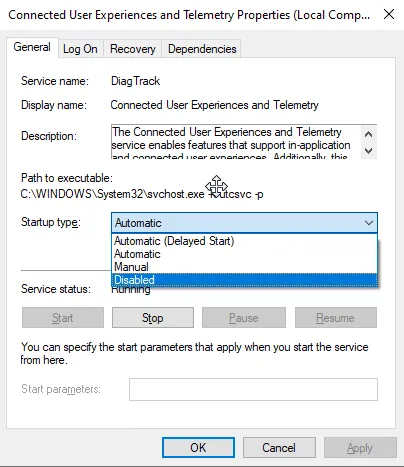
- Click Apply and OK.
Open Task Manager to check whether disk usage has dropped. If not, continue with the next method.
Free Up Space with Disk Cleanup
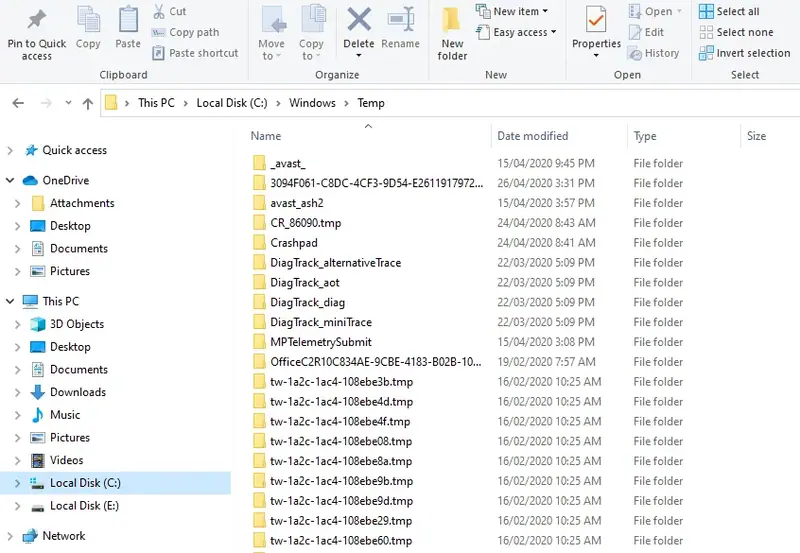
If the PC is still slow, clearing out temporary files reduces the load on the disk and can speed things up.
- Type Disk Cleanup in the search bar and open it.
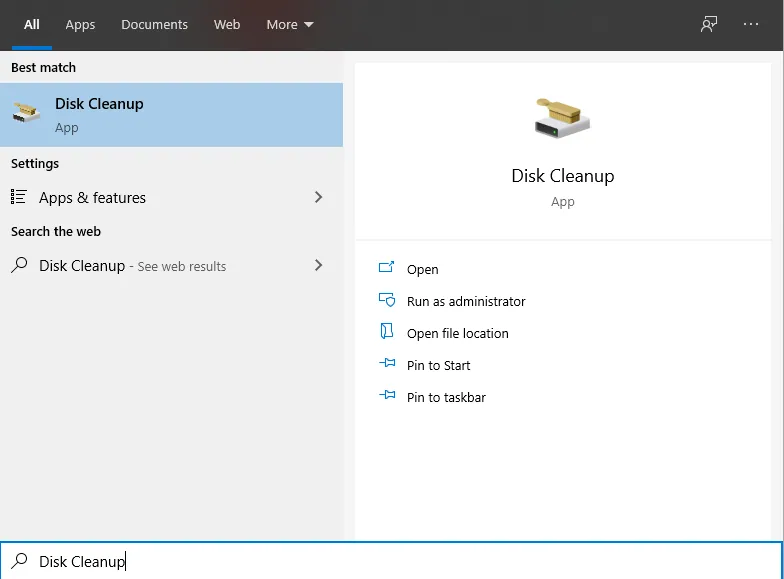
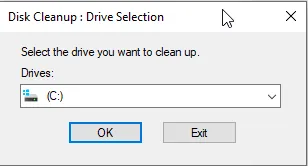
- Choose the drive where Windows is installed (normally C:) and click OK.
- Make sure Temporary Internet Files and Temporary files are selected and click OK.
- Restart Windows and check disk usage in Task Manager again.
Turn Off Telemetry in the Registry
The registry lets you set the telemetry level directly. Only change it if you are comfortable doing so, and back up the registry first.
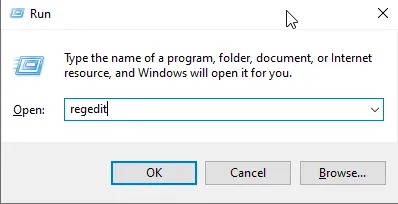
- Press Windows + R, type regedit and click OK. Click Yes when asked for permission.
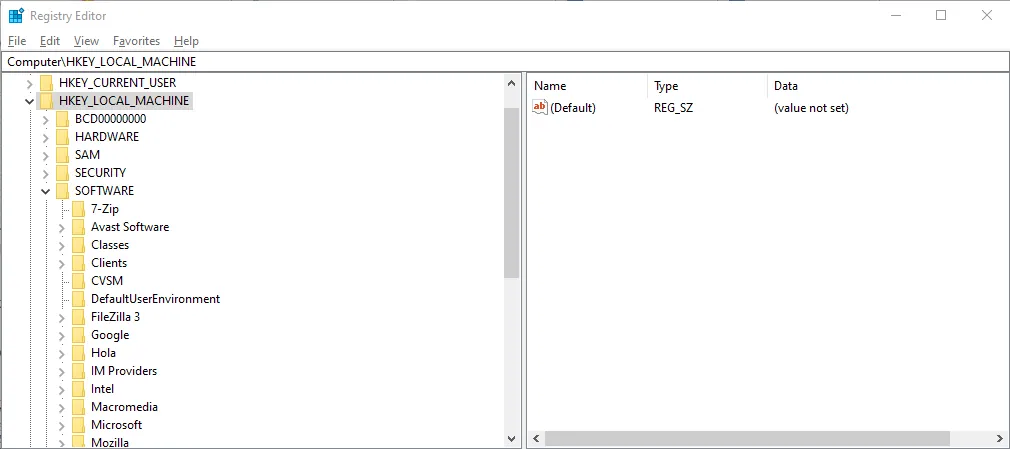
- Expand HKEY_LOCAL_MACHINE > SOFTWARE > Policies.
- Expand Microsoft > Windows and select DataCollection.
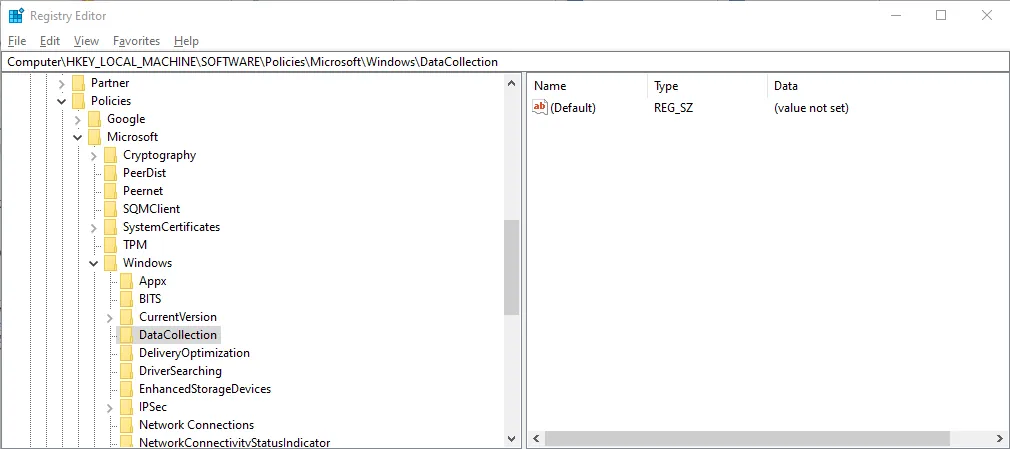
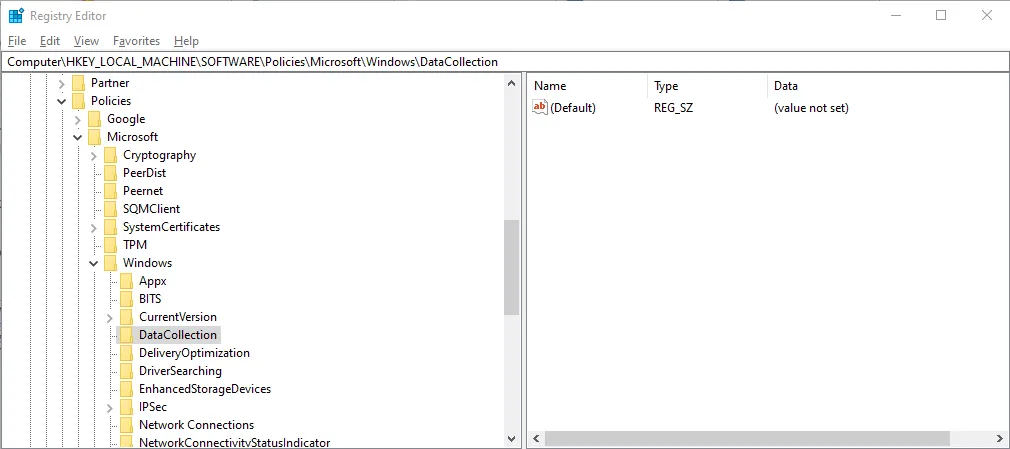
- Right-click DataCollection, choose New > DWORD (32-bit) Value.
- Name it AllowTelemetry, double-click it, enter 0 as the value data and click OK.
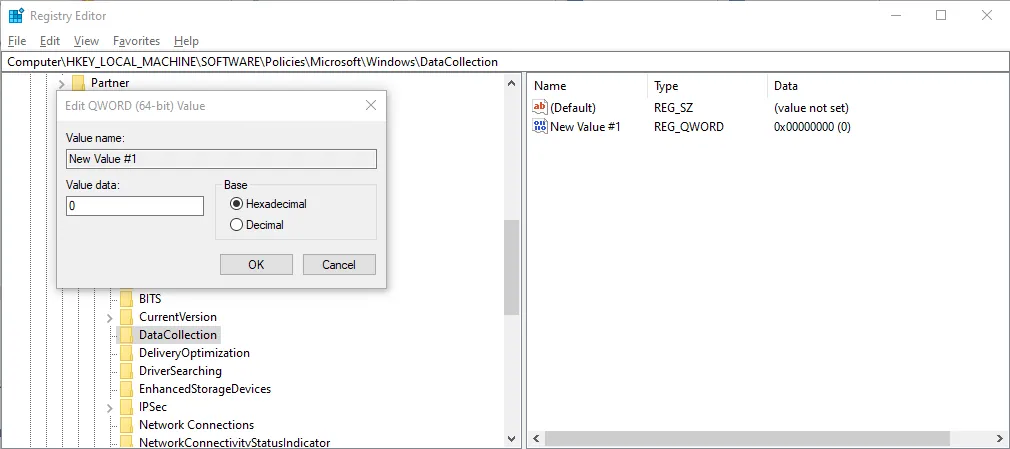
On Home and Pro editions, Windows treats 0 as the lowest permitted level (Basic/Required). Only Enterprise and Education editions switch telemetry off entirely.
Turn Off Telemetry with Group Policy
On Windows 10 Pro, Enterprise and Education, the Group Policy Editor offers the same setting with a friendlier interface. (Windows 10 Home does not include it; use the registry method instead.)
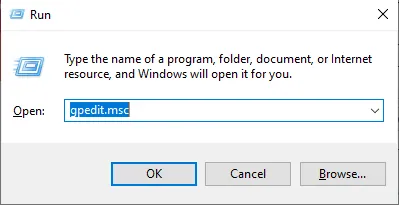
- Press Windows + R, type gpedit.msc and click OK.
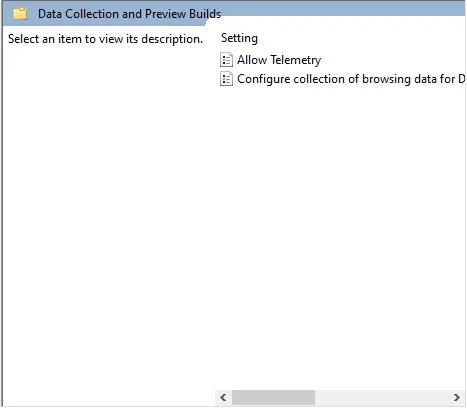
- Go to Computer Configuration > Administrative Templates > Windows Components > Data Collection and Preview Builds.
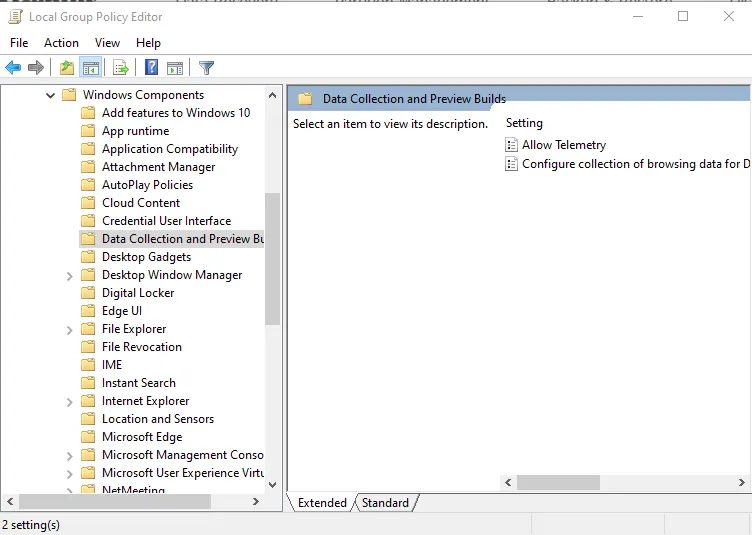
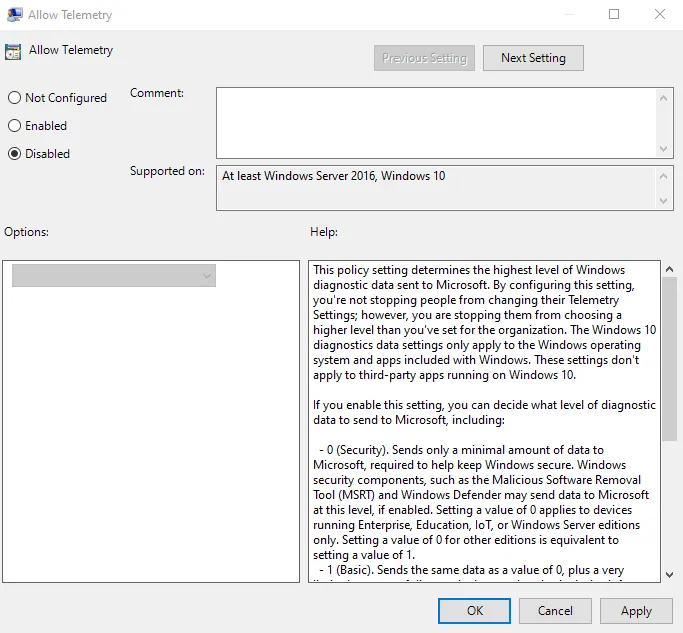
- Double-click Allow Telemetry in the right pane.
- Select Disabled and click OK.
Disable Telemetry from Command Prompt
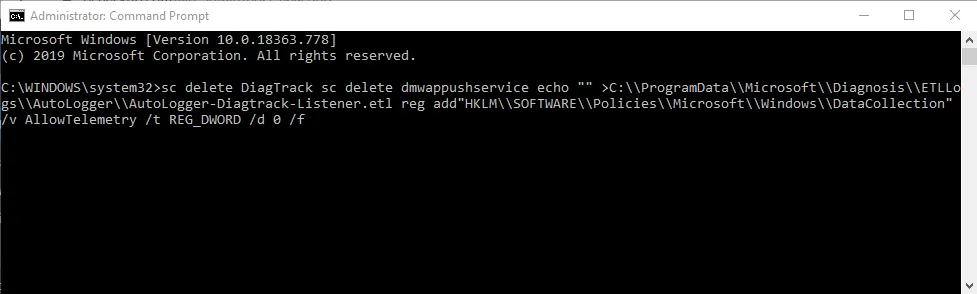
If you prefer the command line, these commands remove the telemetry services, clear the tracking log and set the telemetry policy in one go. Removed services can only be restored by repairing or reinstalling Windows, so use this method only if you are sure.
- Type cmd in the search box, right-click Command Prompt and choose Run as administrator.
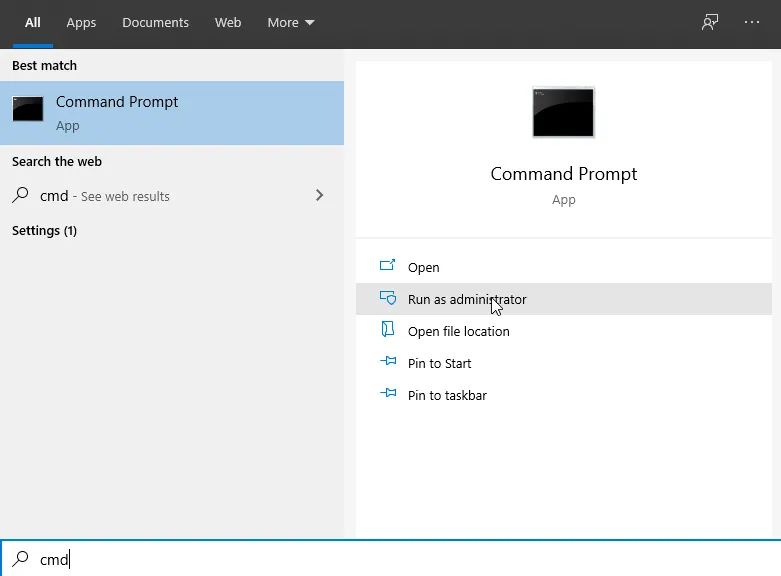
- Paste these commands one at a time, pressing Enter after each:
sc delete DiagTrack
sc delete dmwappushservice
echo "" > C:\ProgramData\Microsoft\Diagnosis\ETLLogs\AutoLogger\AutoLogger-Diagtrack-Listener.etl
reg add "HKLM\SOFTWARE\Policies\Microsoft\Windows\DataCollection" /v AllowTelemetry /t REG_DWORD /d 0 /f
Disable CompatTelRunner.exe in Task Scheduler
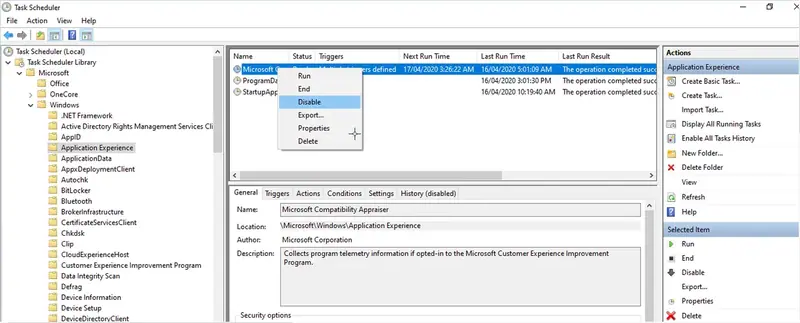
CompatTelRunner.exe is started by scheduled tasks. Disabling those tasks stops it from running without deleting anything, which makes this the safest way to deal with the file itself.
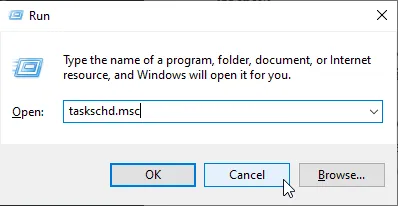
- Press Windows + R, type taskschd.msc and click OK.
- In the left pane, expand Task Scheduler Library > Microsoft > Windows and click Application Experience.
- Right-click Microsoft Compatibility Appraiser (and ProgramDataUpdater, if present) and choose Disable.
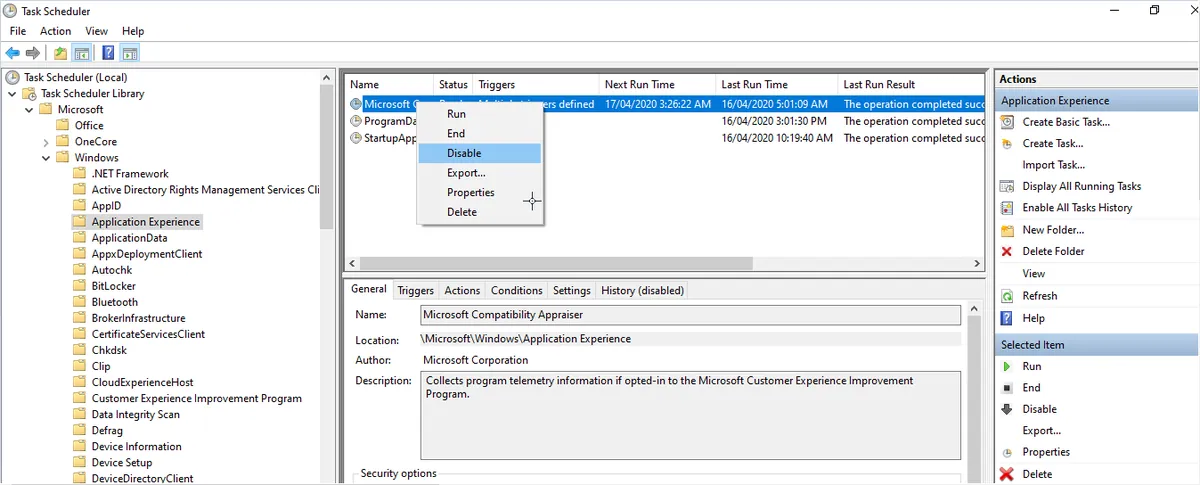
- Close Task Scheduler and restart the computer.
Delete CompatTelRunner.exe (Advanced)
Some users go one step further and delete the file. Because it is protected by Windows, you first have to take ownership of it. This is a last resort: Windows updates may restore the file, and deleting system files is never risk-free.
- Sign in with an administrator account.
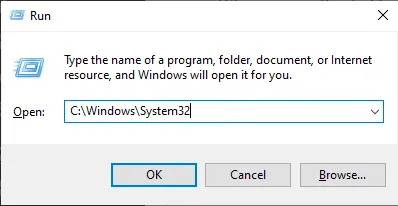
- Press Windows + R, type C:\Windows\System32 and click OK.
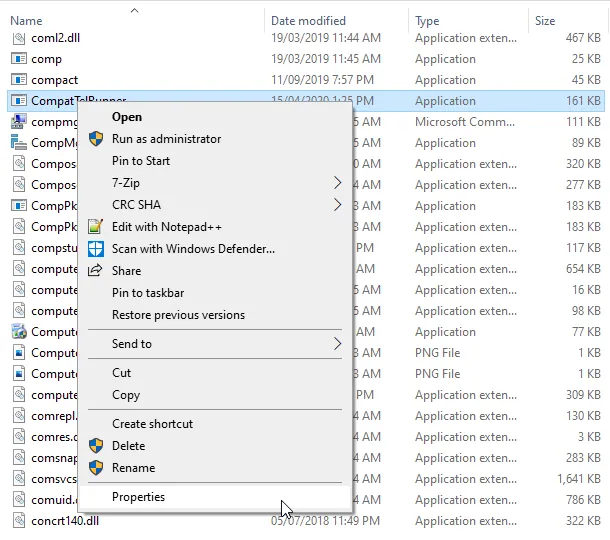
- Find CompatTelRunner.exe, right-click it and choose Properties.
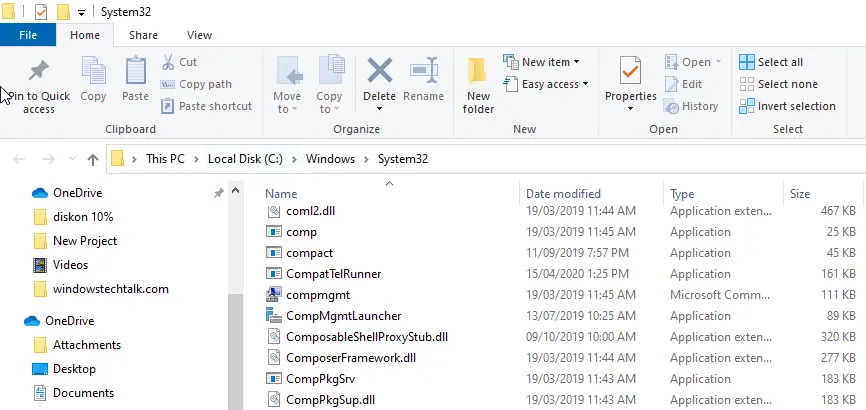
- Open the Security tab and click Advanced.
- Next to Owner, click Change (on older versions, the Owner tab and Edit), enter Administrators, click Apply and OK. Close the Properties windows when prompted.
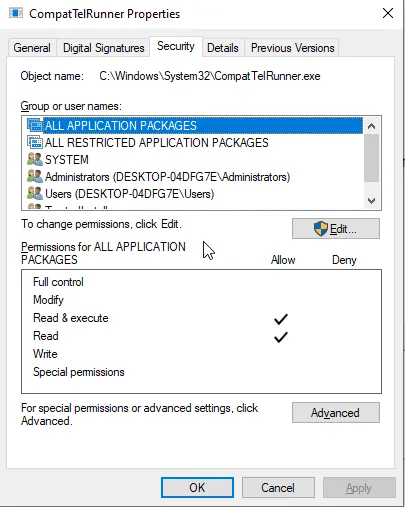
- Open the file's Properties again, go to Security > Advanced, select your administrator account in the permissions list and give it Full control. Click OK.
- Delete CompatTelRunner.exe from System32, then empty the Recycle Bin.
Conclusion
In most cases, disabling the Connected User Experiences and Telemetry service or the scheduled tasks in Task Scheduler is all you need to stop Microsoft Compatibility Telemetry from hogging your disk. With that background activity gone, your PC should feel noticeably faster.
Sources: techloris.com, diskgenius.com, itechgyan.com